Kali Linux ARM64 Installation Guide for UTM
This guide covers the installation of Kali Linux (ARM64) on Apple Silicon Macs using UTM.
Prerequisites
- UTM installed on your Mac (available from getutm.app)
- At least 40GB free storage
- 8GB RAM recommended
- Internet connection for downloads
Step 1: Download Kali Linux ARM64
- 1Download Kali
- 2Create VM
- 3Configure Settings
- 4Install OS
- 5First Boot
- 6Optimization
- Download the latest Kali Linux ARM64 ISO from the official Kali Linux Website
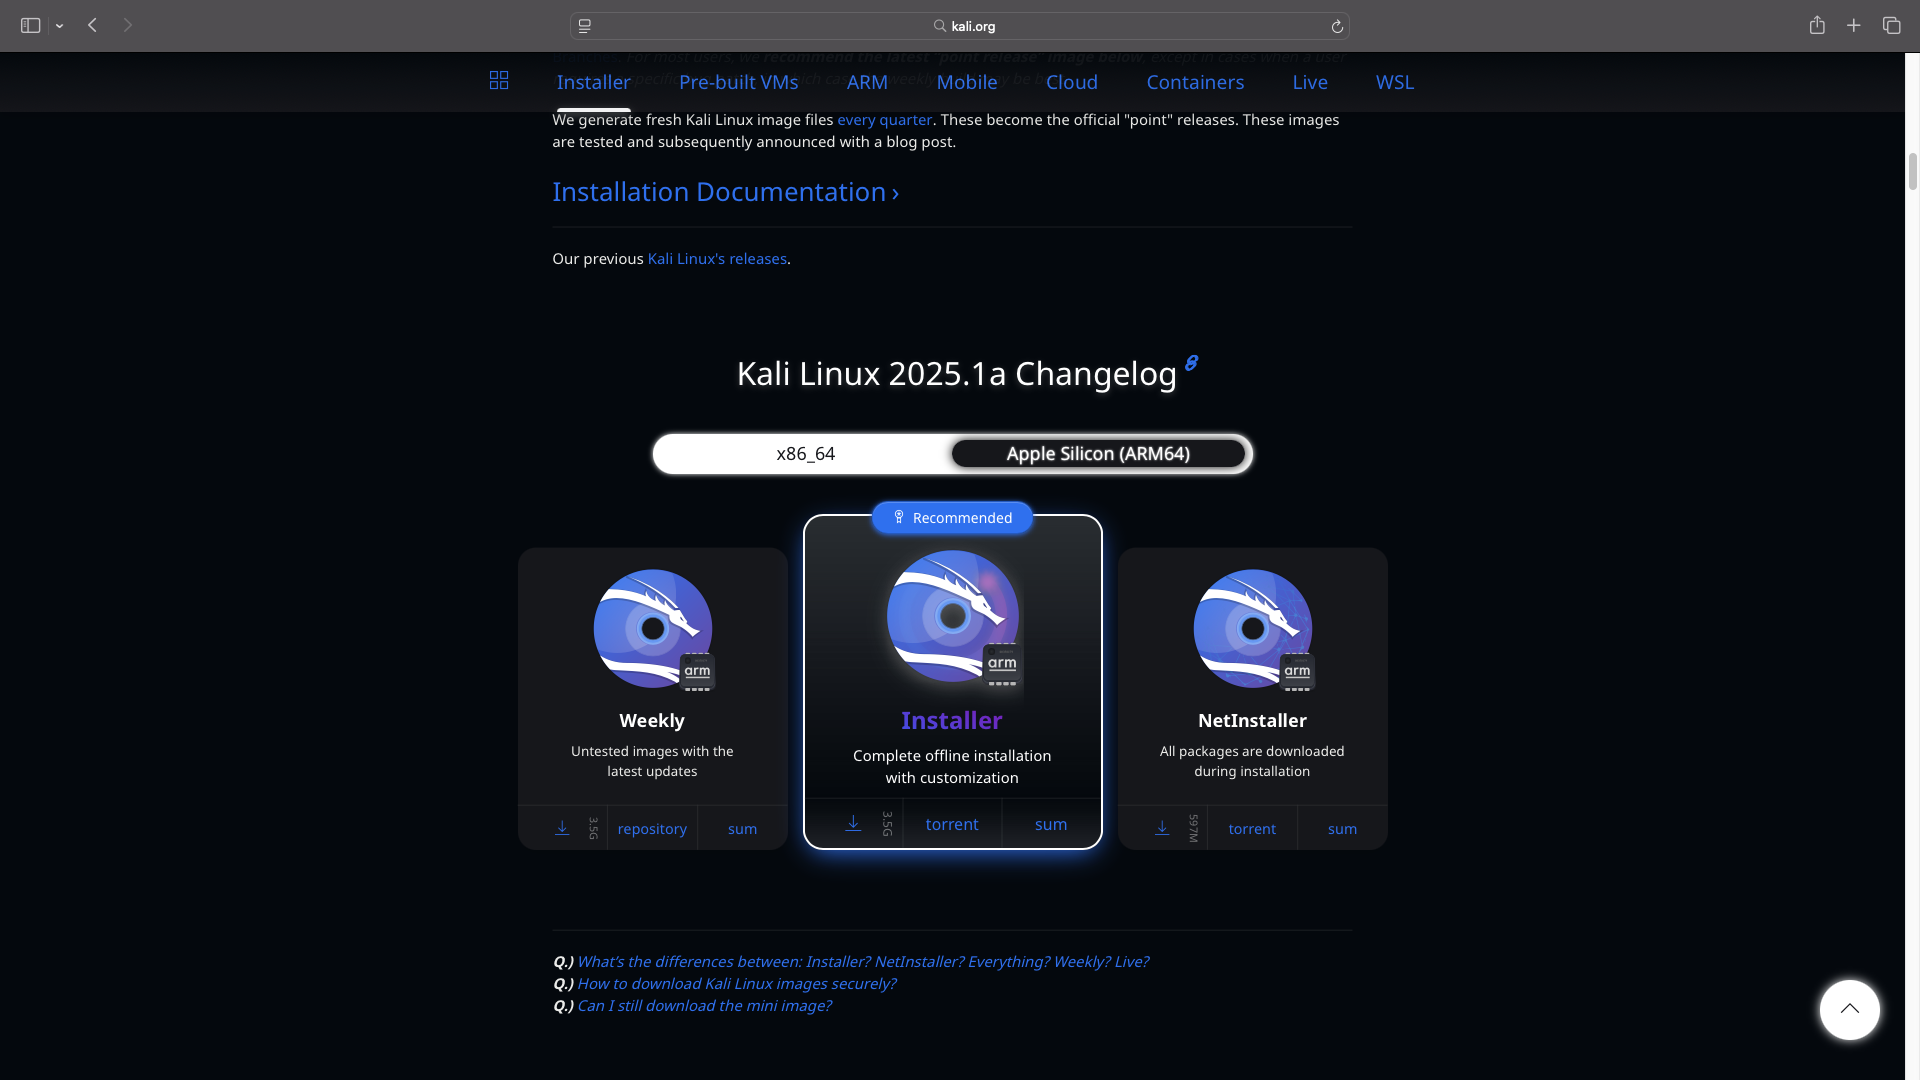
- Visit the official site: Kali.org Downloads
Important: Make sure to select the “Apple Silicon (ARM64)” image when downloading.
Step 2: Create Your New Virtual Machine in UTM
- 1Download Kali
- 2Create VM
- 3Configure Settings
- 4Install OS
- 5First Boot
- 6Optimization
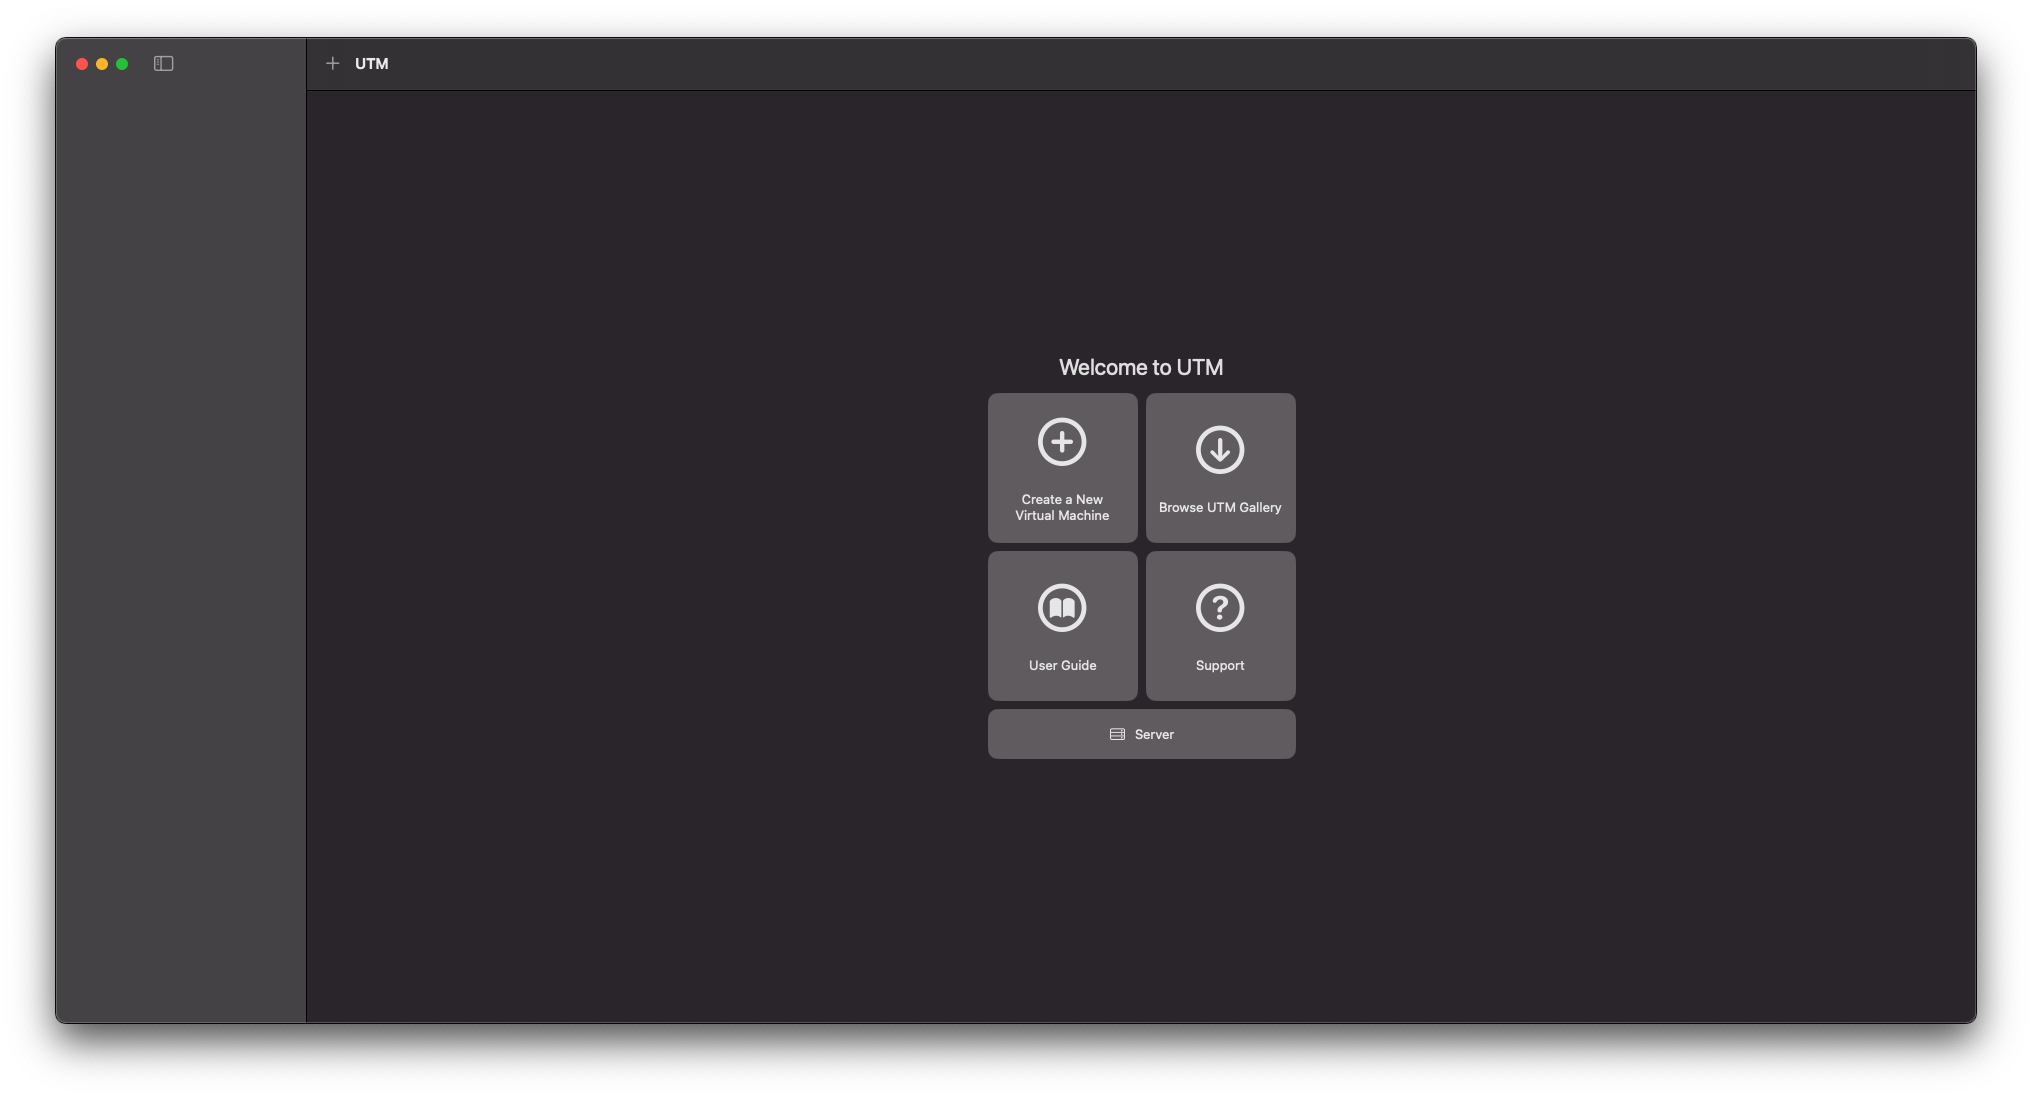
- Open UTM
-
Select
Create a New Virtual Machine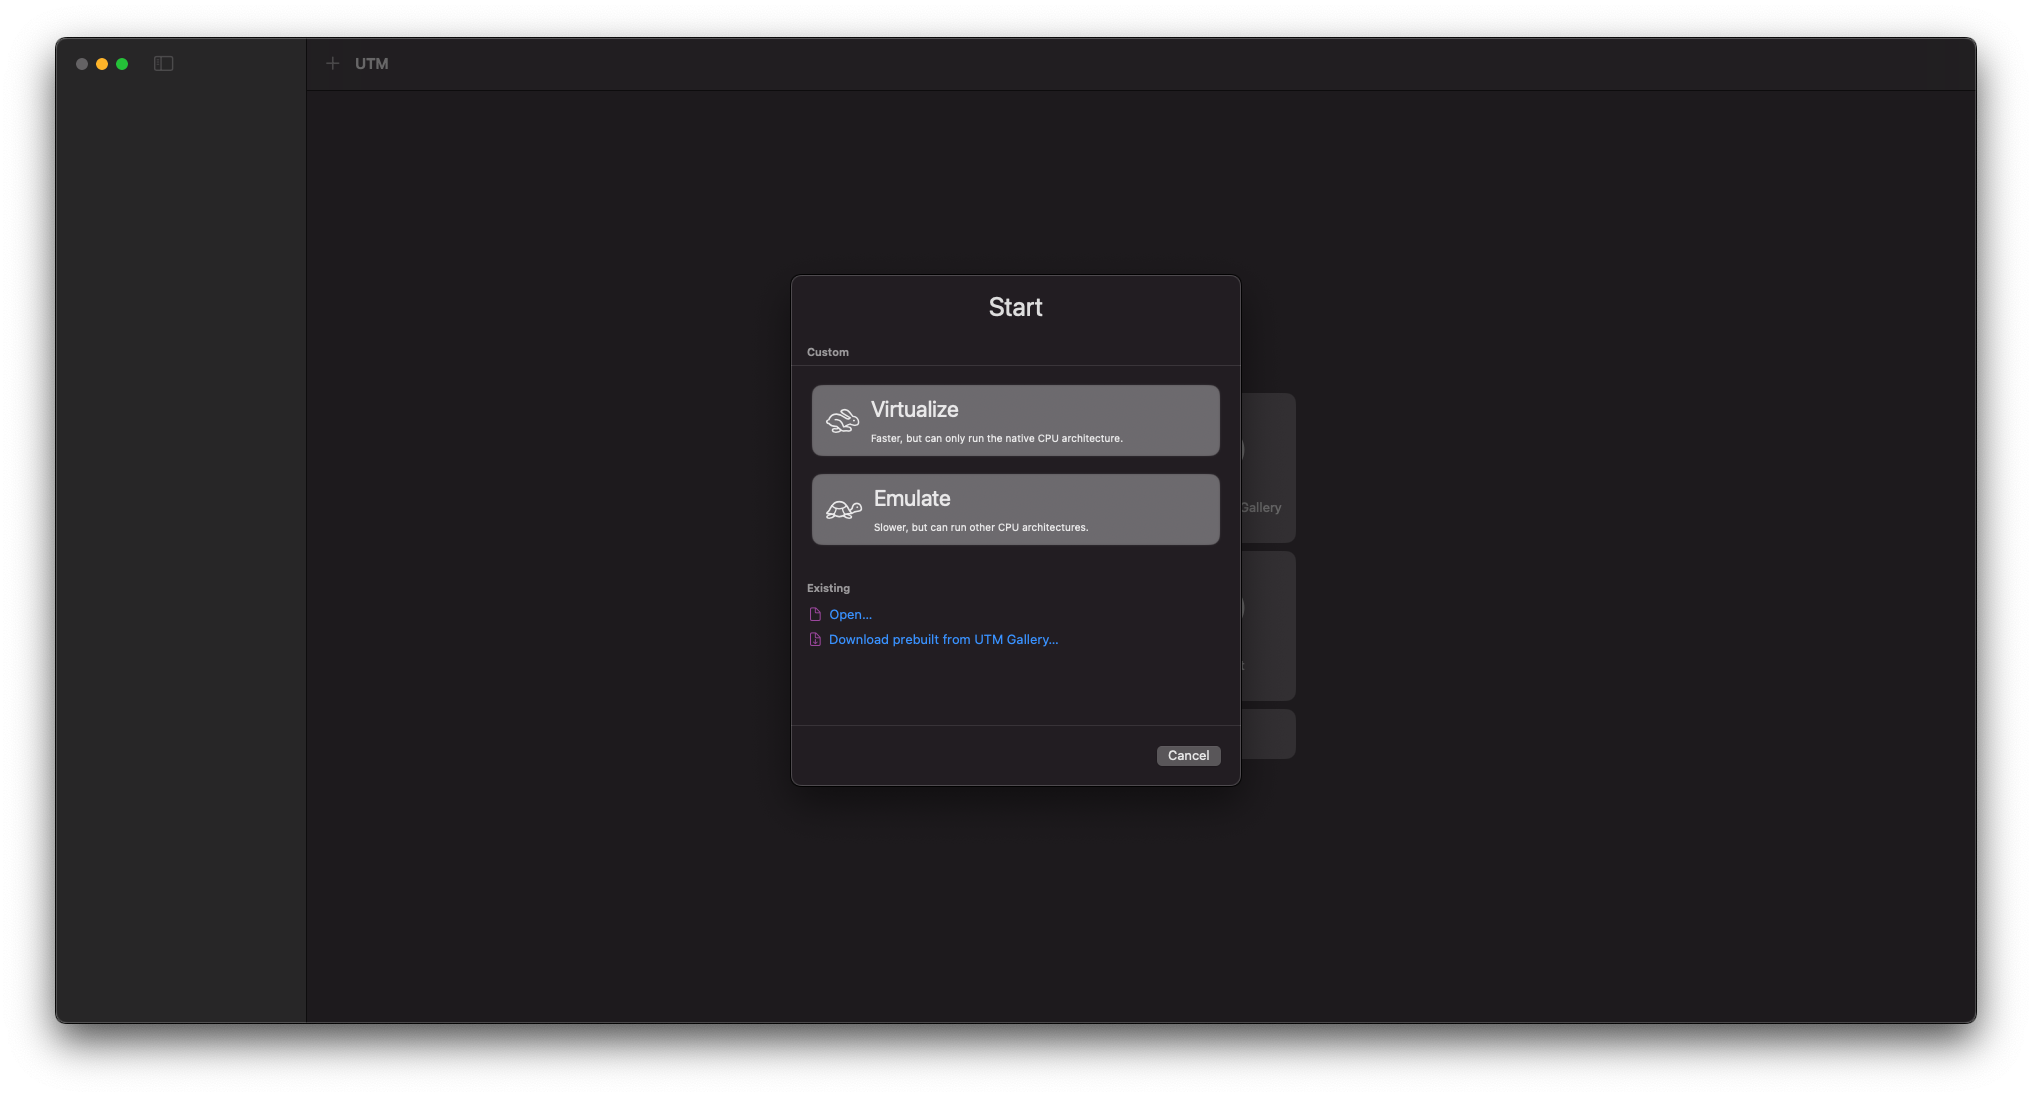
-
Select
Virtualize
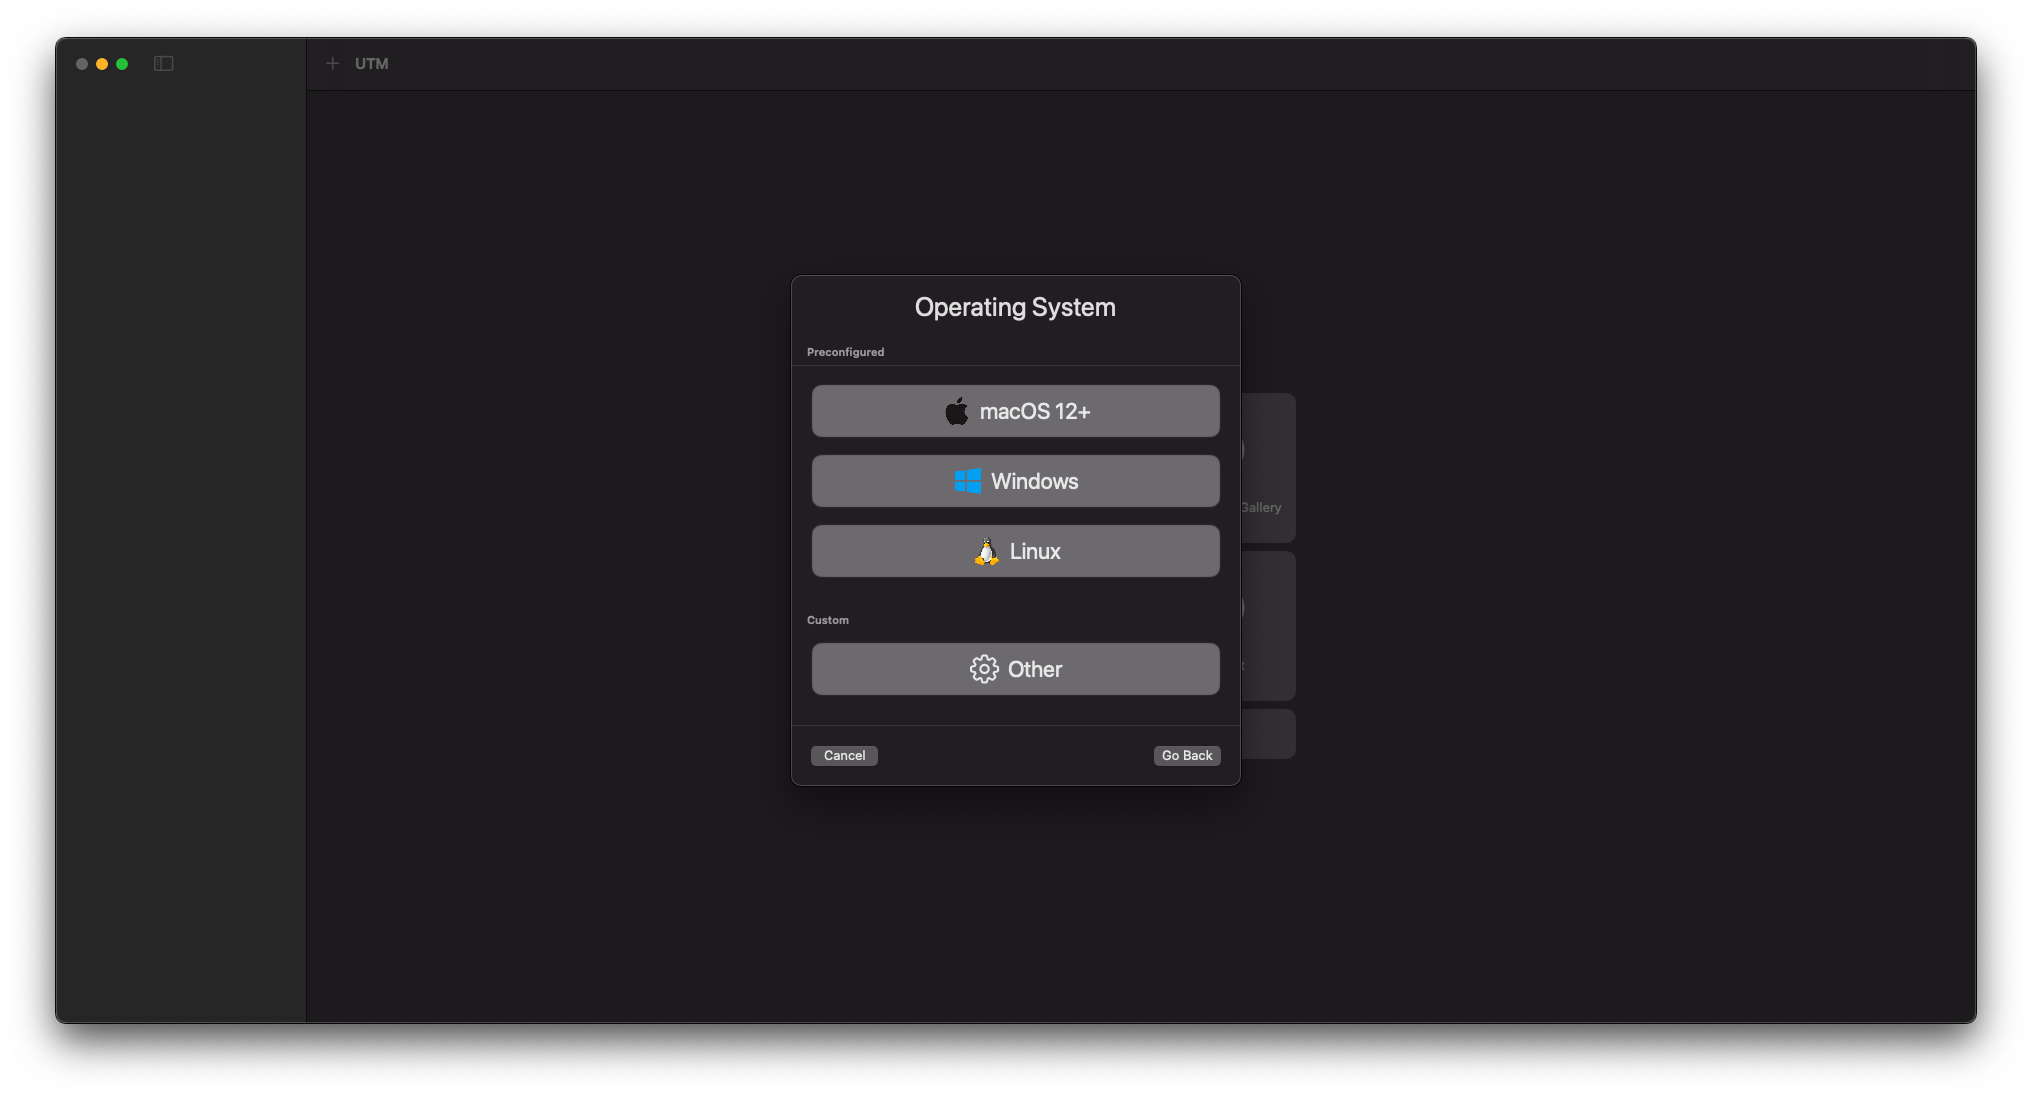
- Select
Other, then selectBoot ISO Image:and choose the Kali Linux ISO file you downloaded earlier.
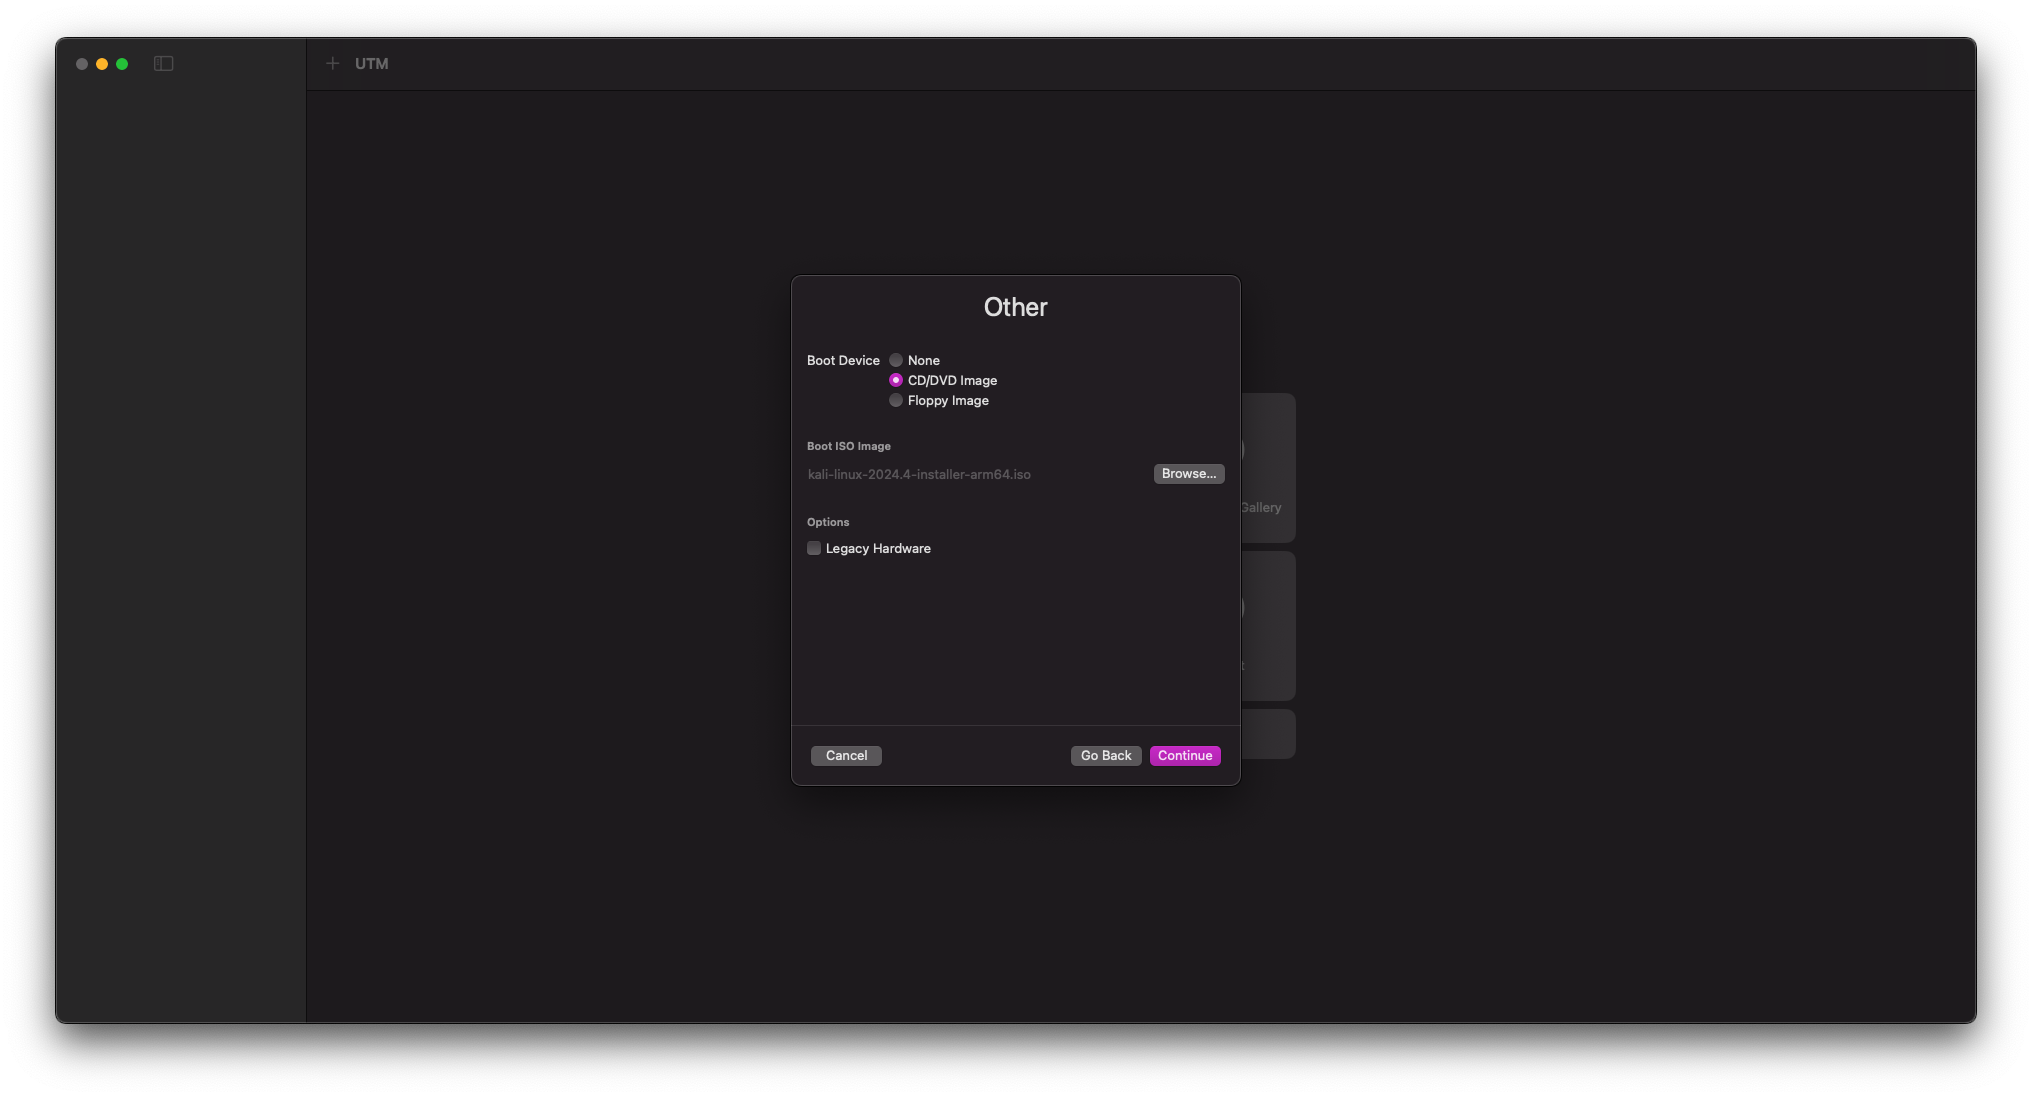
-
Select
Continue -
When prompted for Hardware Information, leave the default settings and select
Continue -
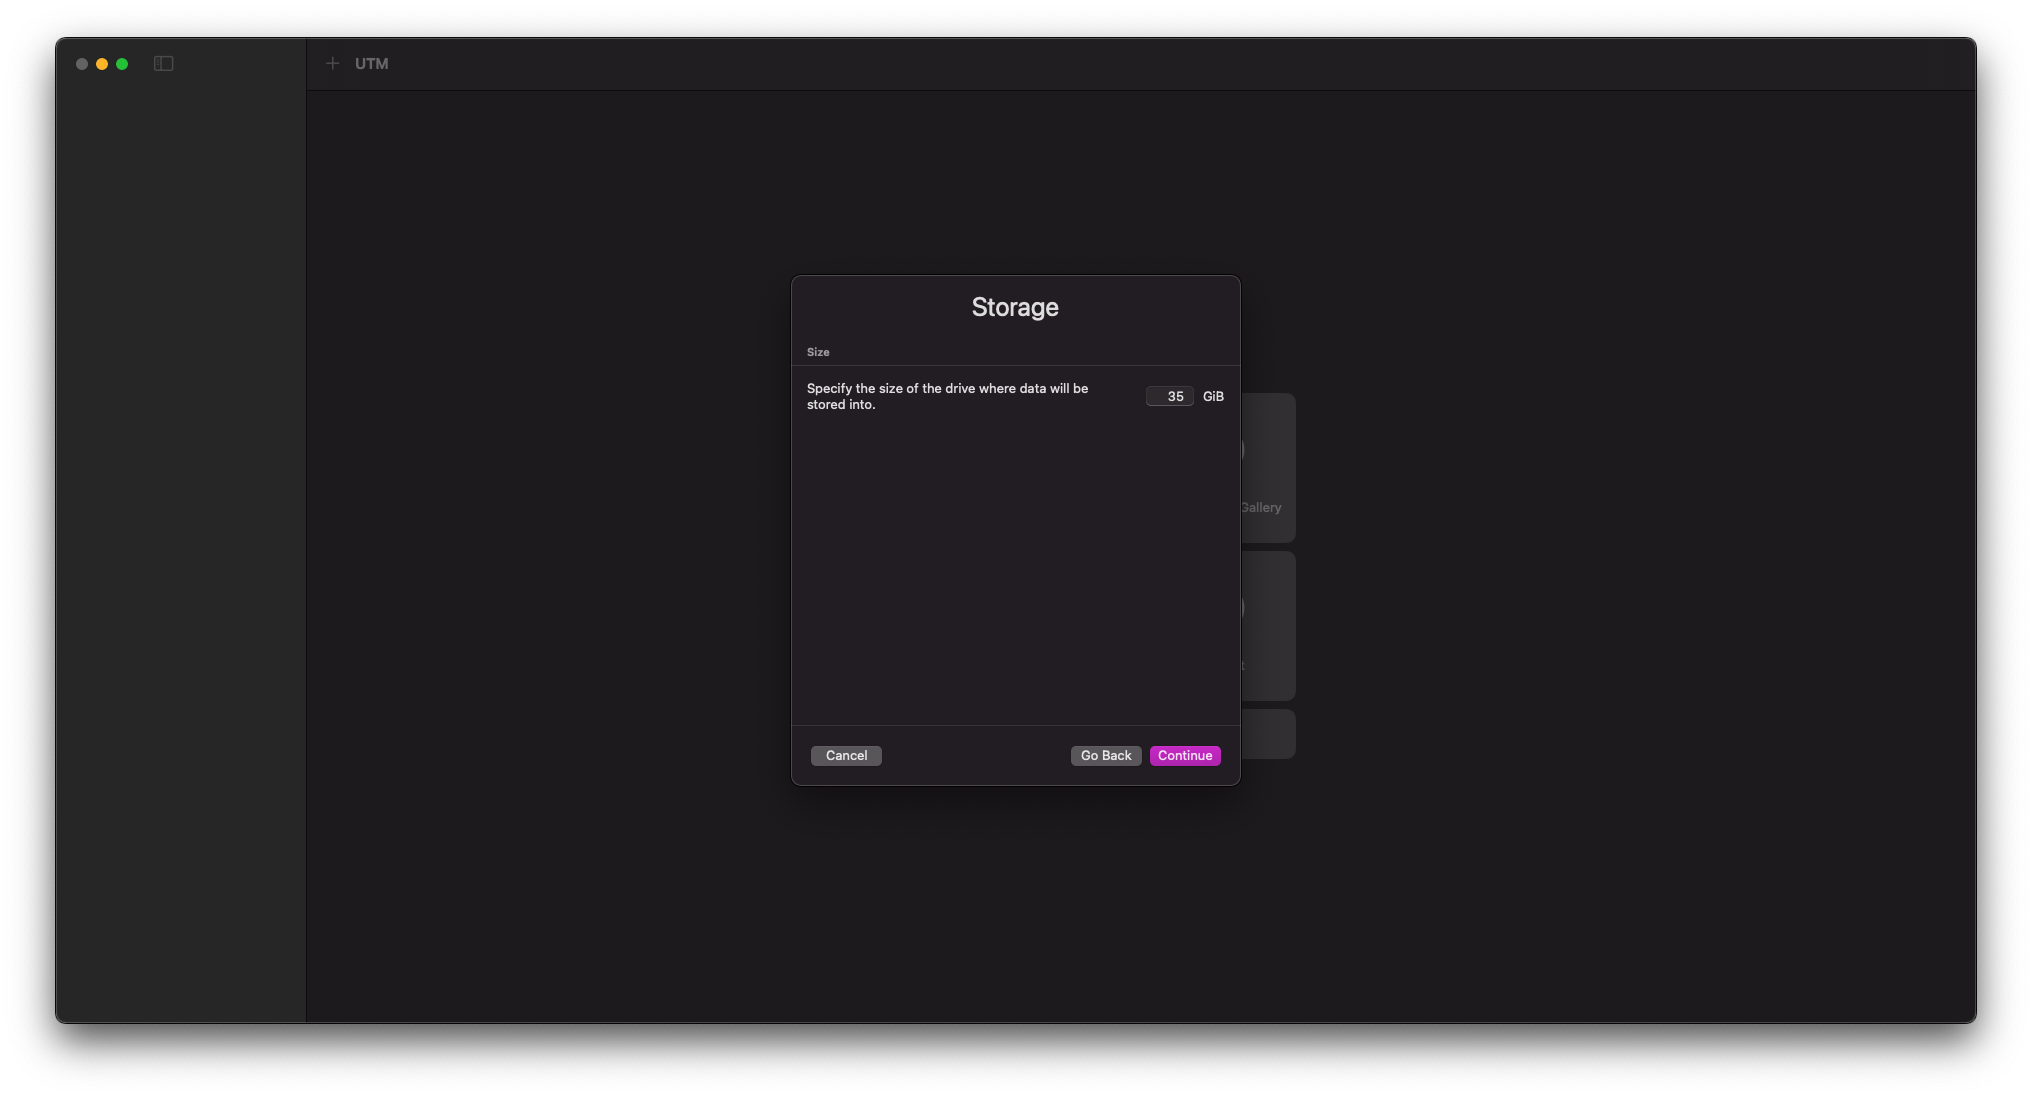
Change the Storage Size to
25-35 GiBdepending on your available storage
-
When prompted for Shared Directory Information, you may leave these settings unchanged or configure a shared folder if needed
-
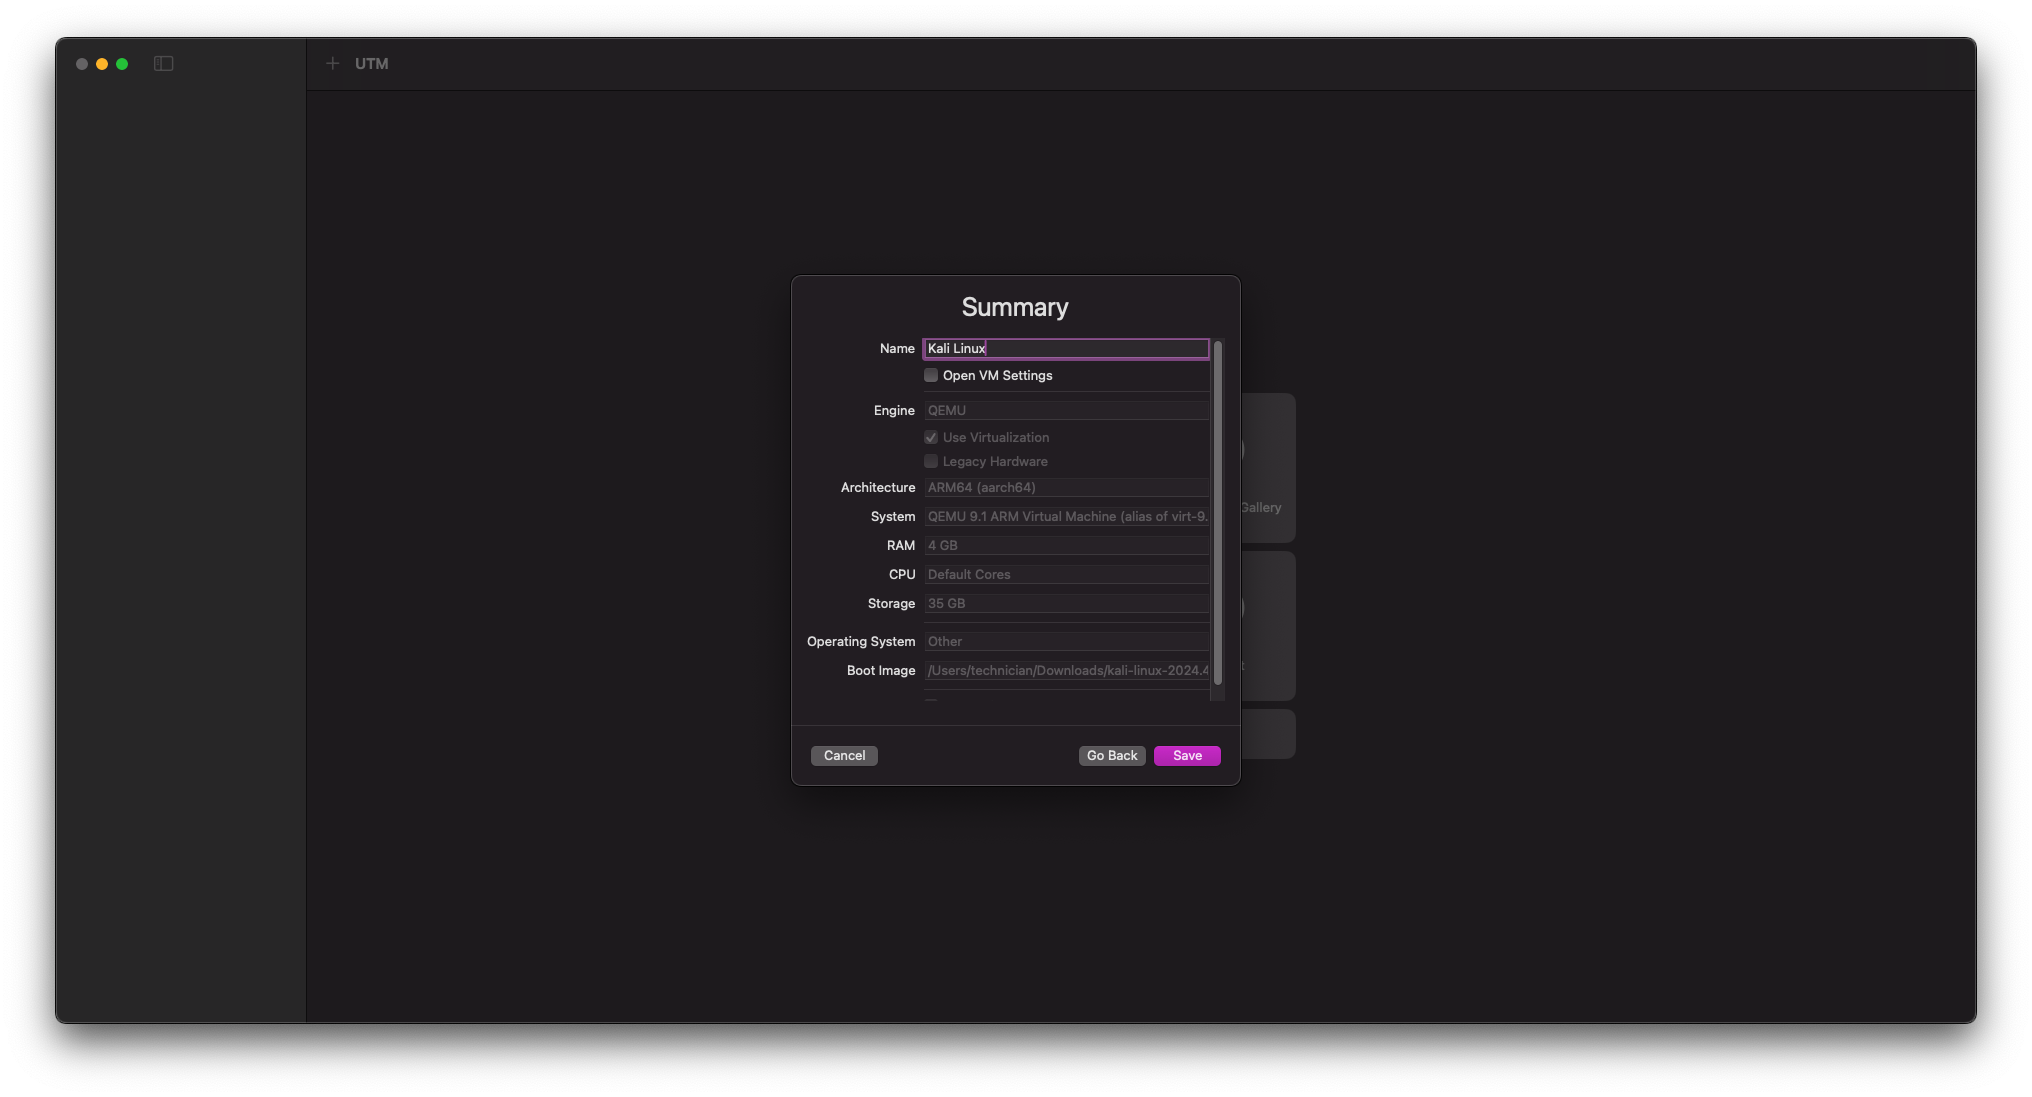
At the VM Summary, rename your VM to
Kali Linuxand selectSave
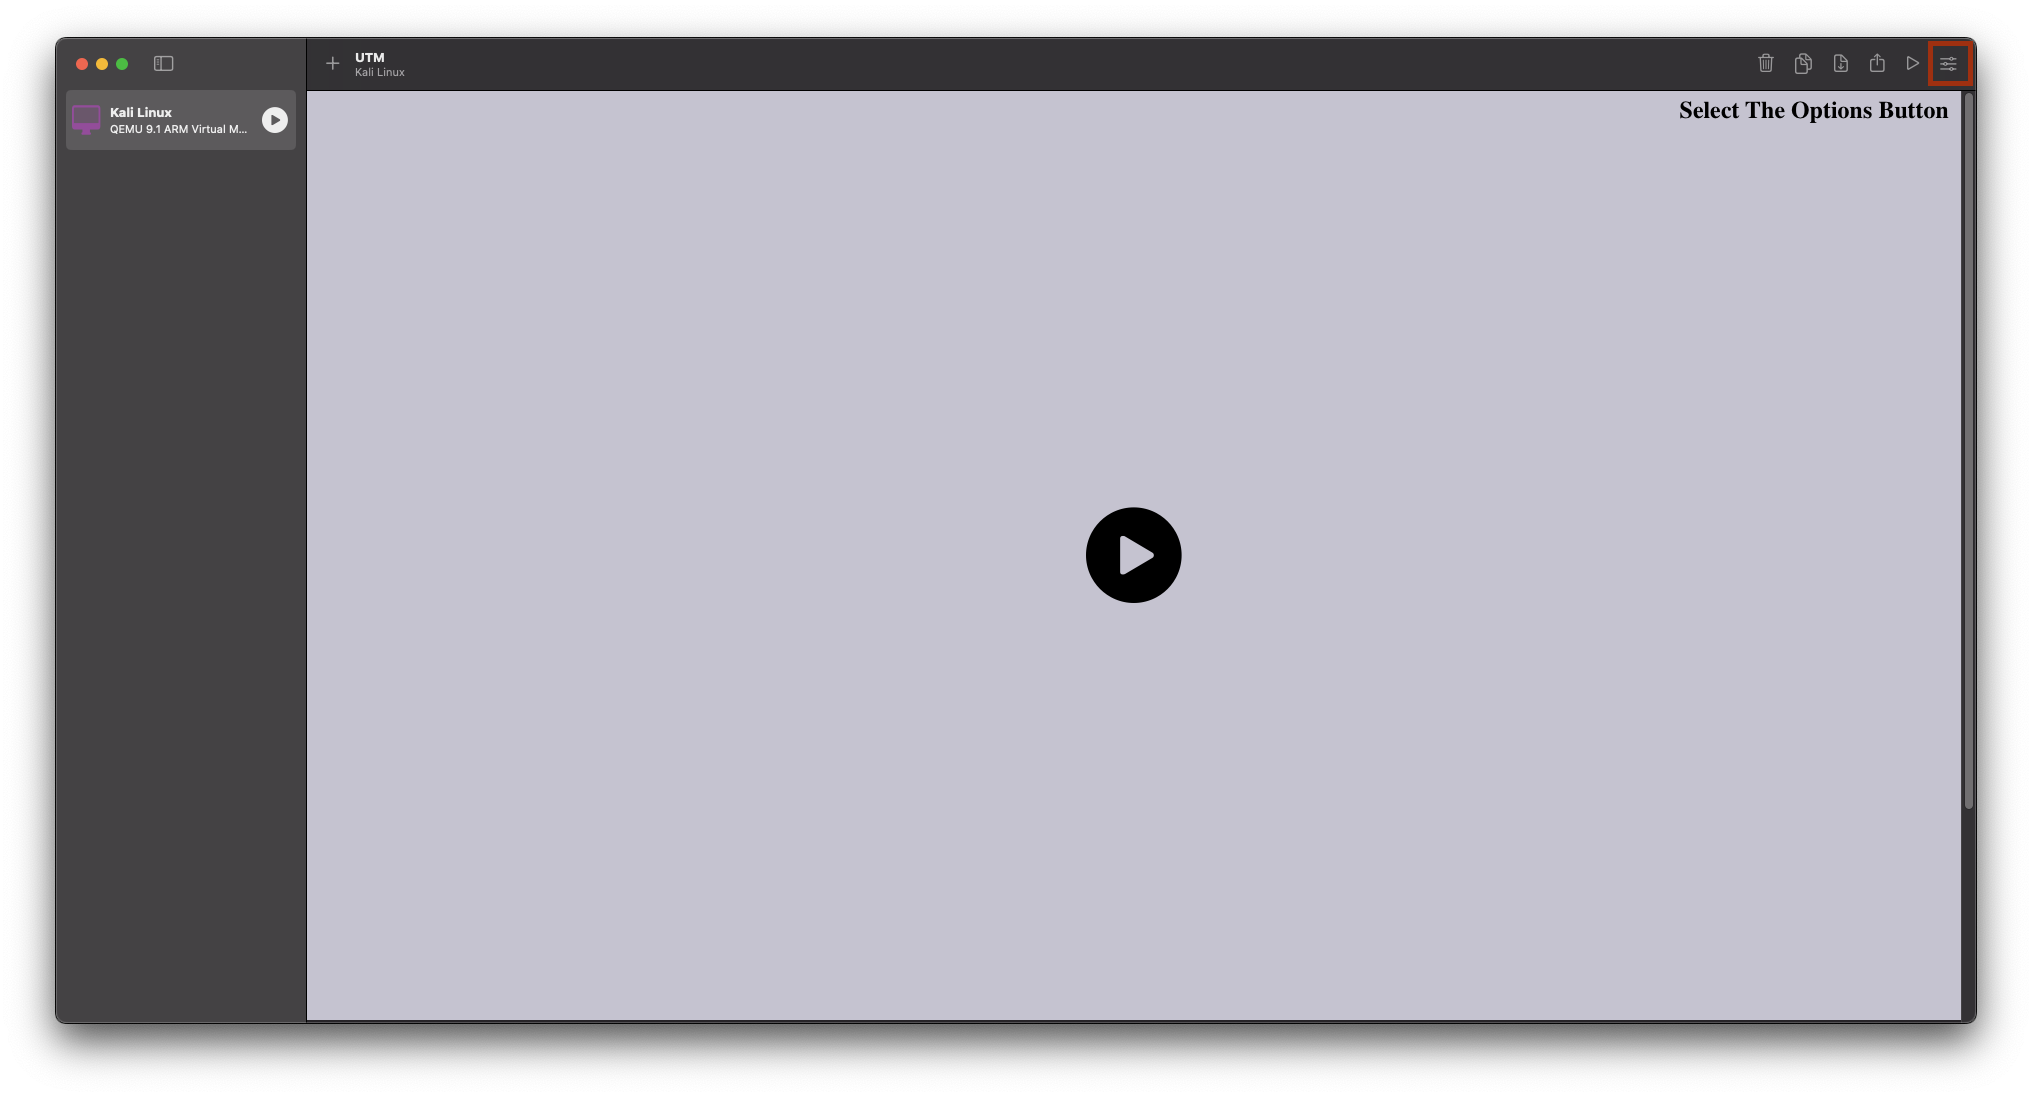
- After naming your VM, click the VM Settings icon (highlighted in red in the image below)
Step 3: Modify VM Settings for Installation
- 1Download Kali
- 2Create VM
- 3Configure Settings
- 4Install OS
- 5First Boot
- 6Optimization
Due to a current bug in UTM, we need to install Kali Linux in console-only mode:
- In the VM settings, select
Displayunder Devices and clickRemove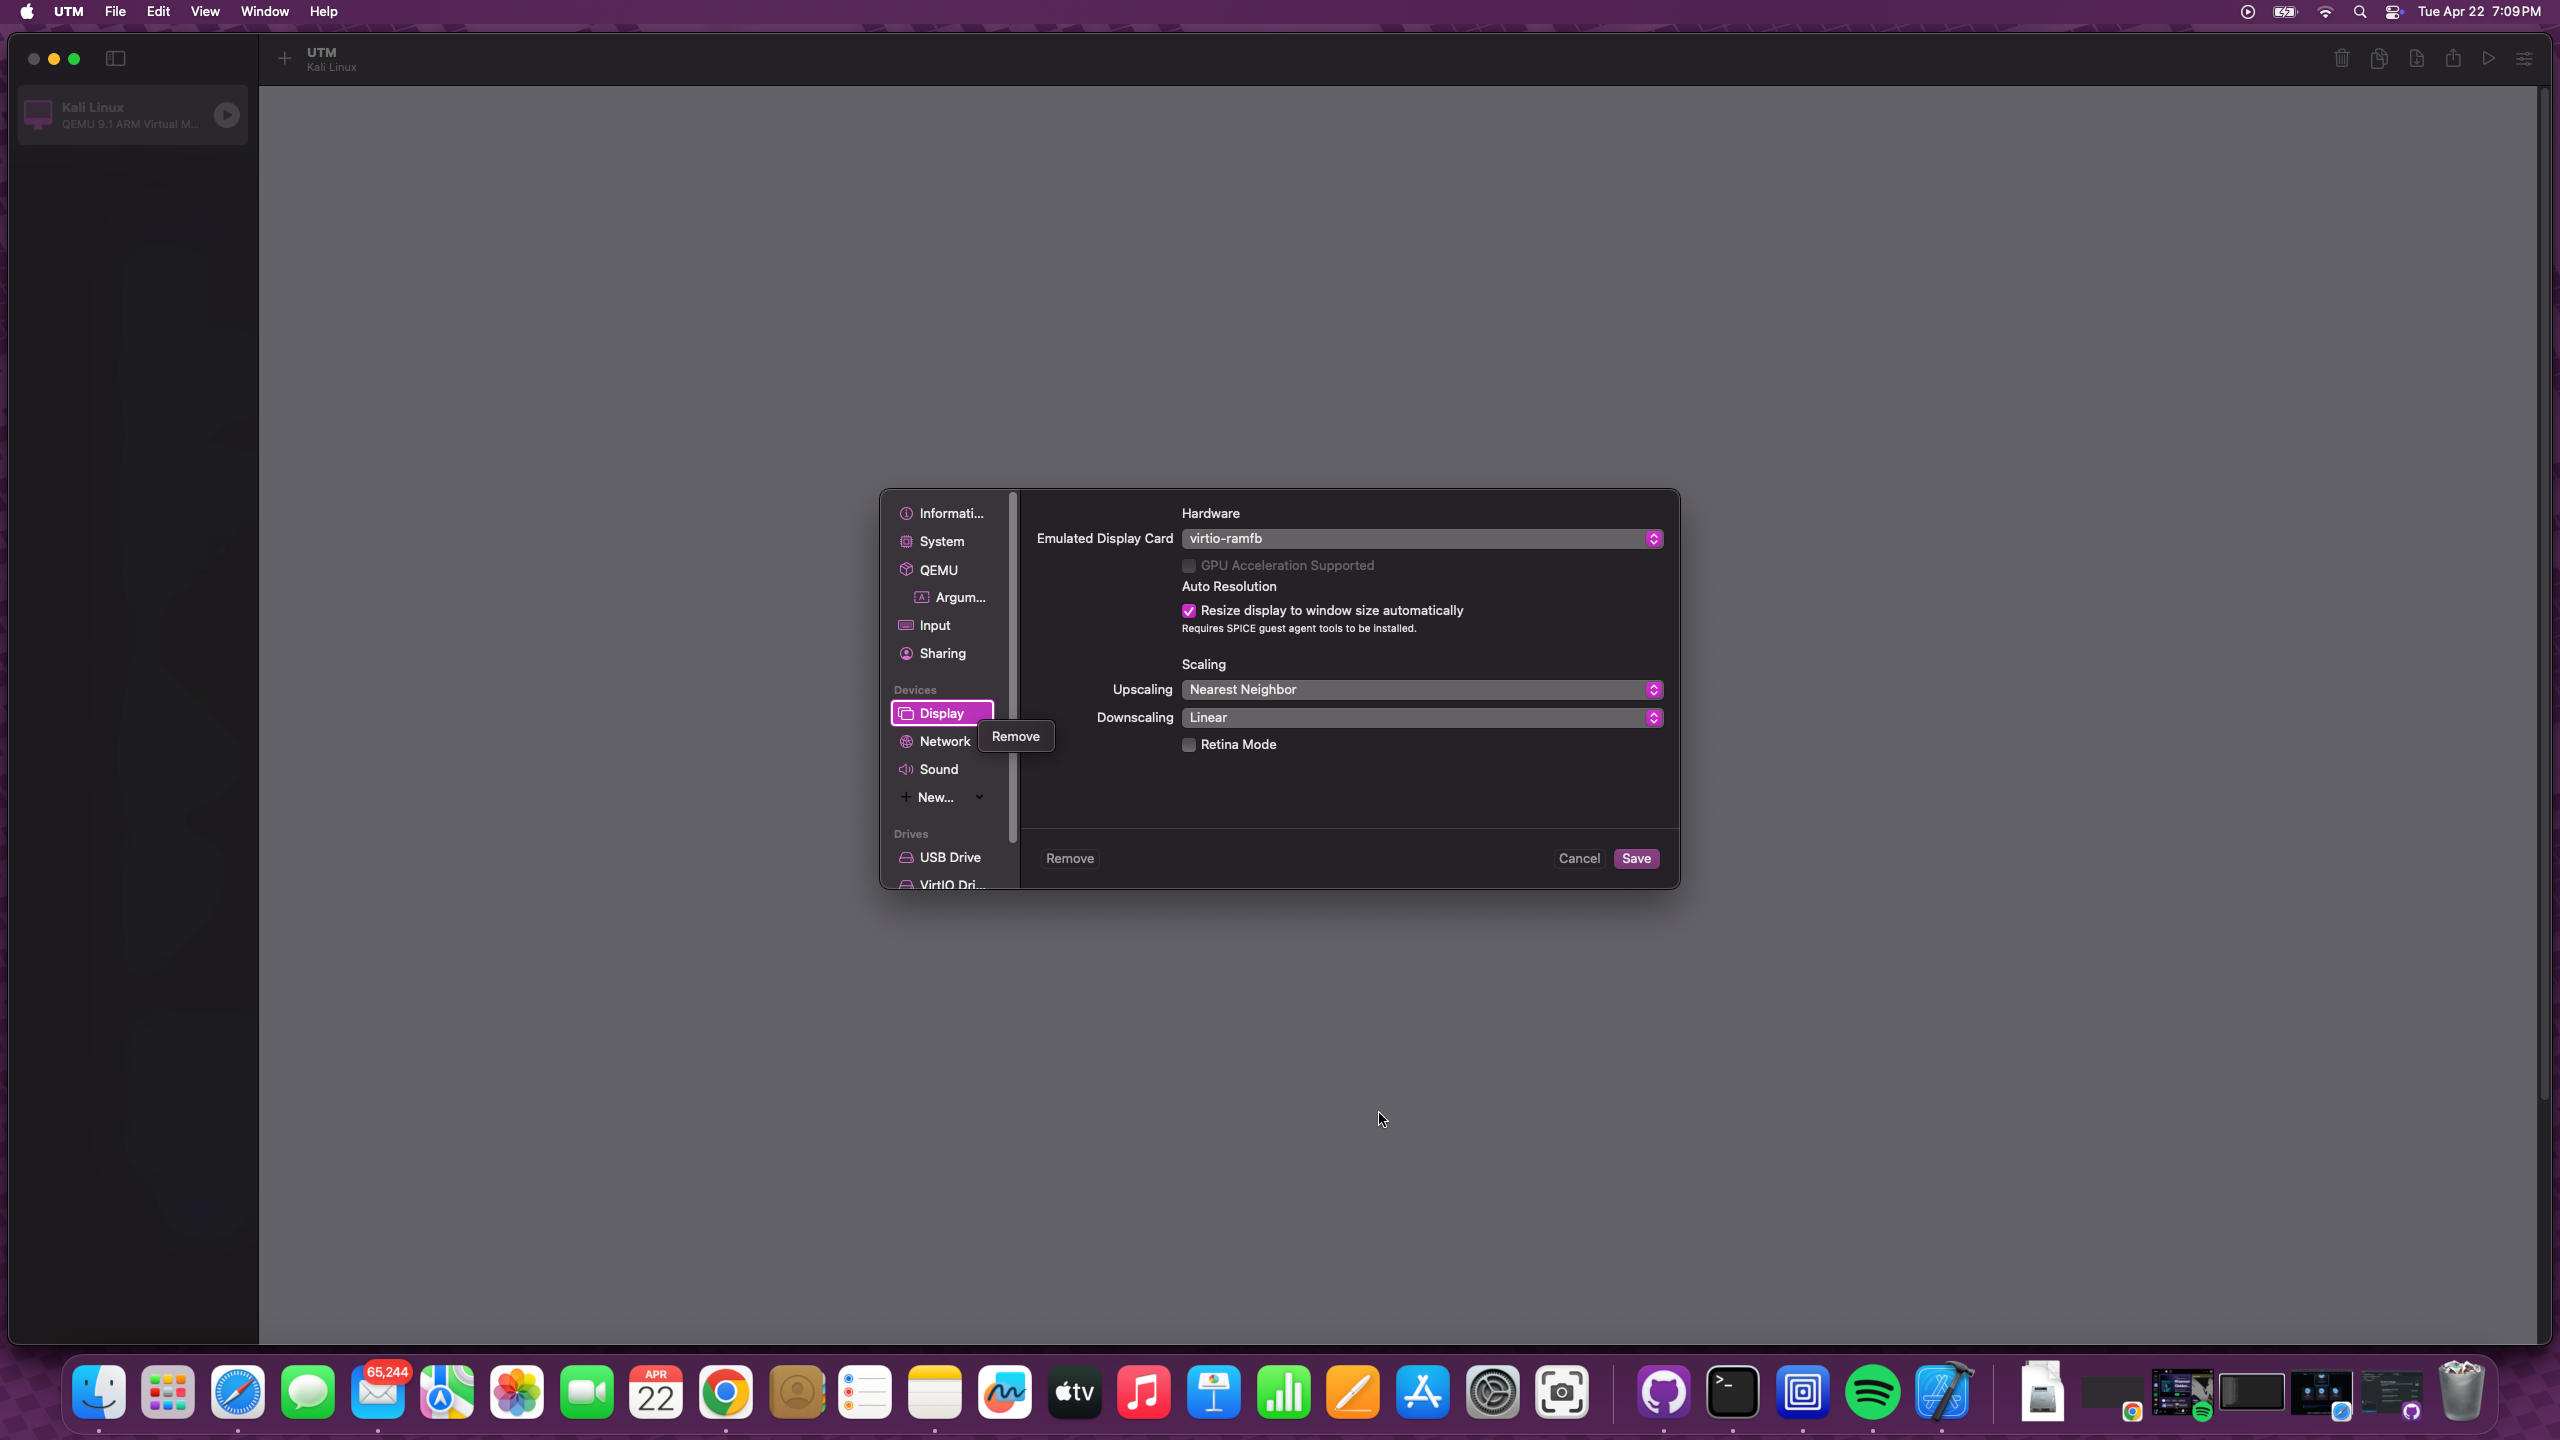
- Click
+ New...and selectSerialdevice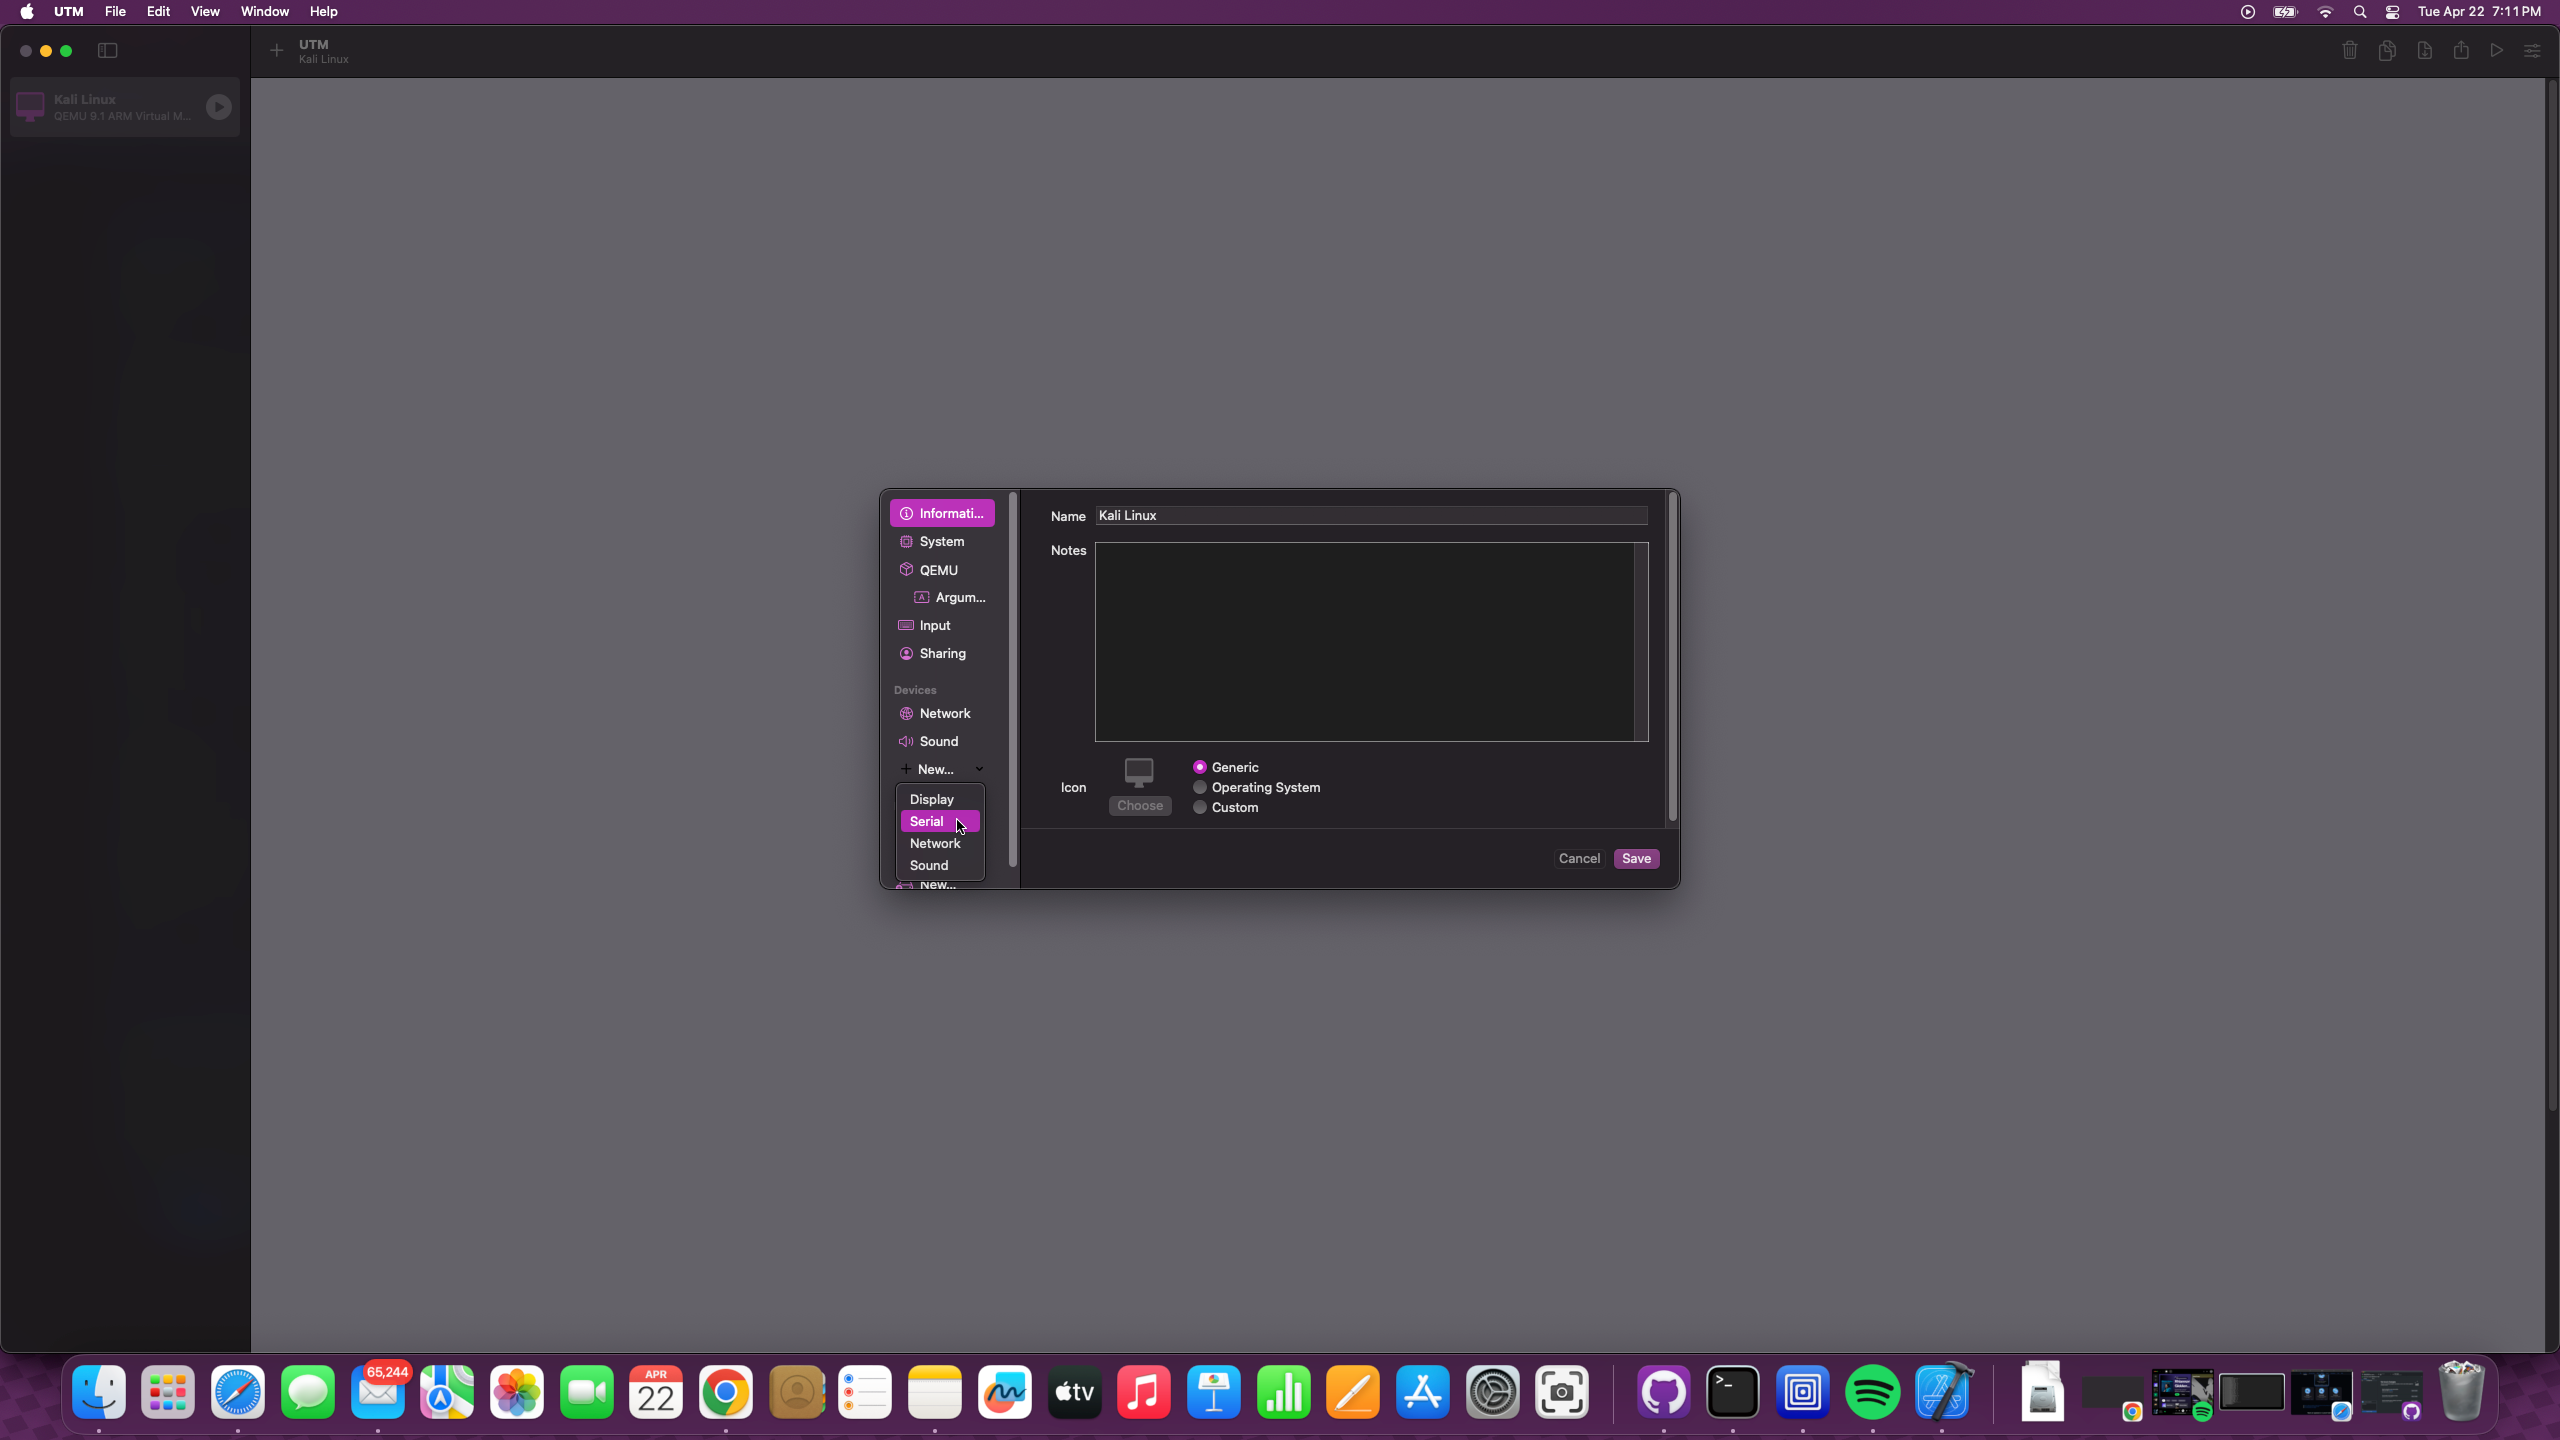
- Click
Saveto apply these changes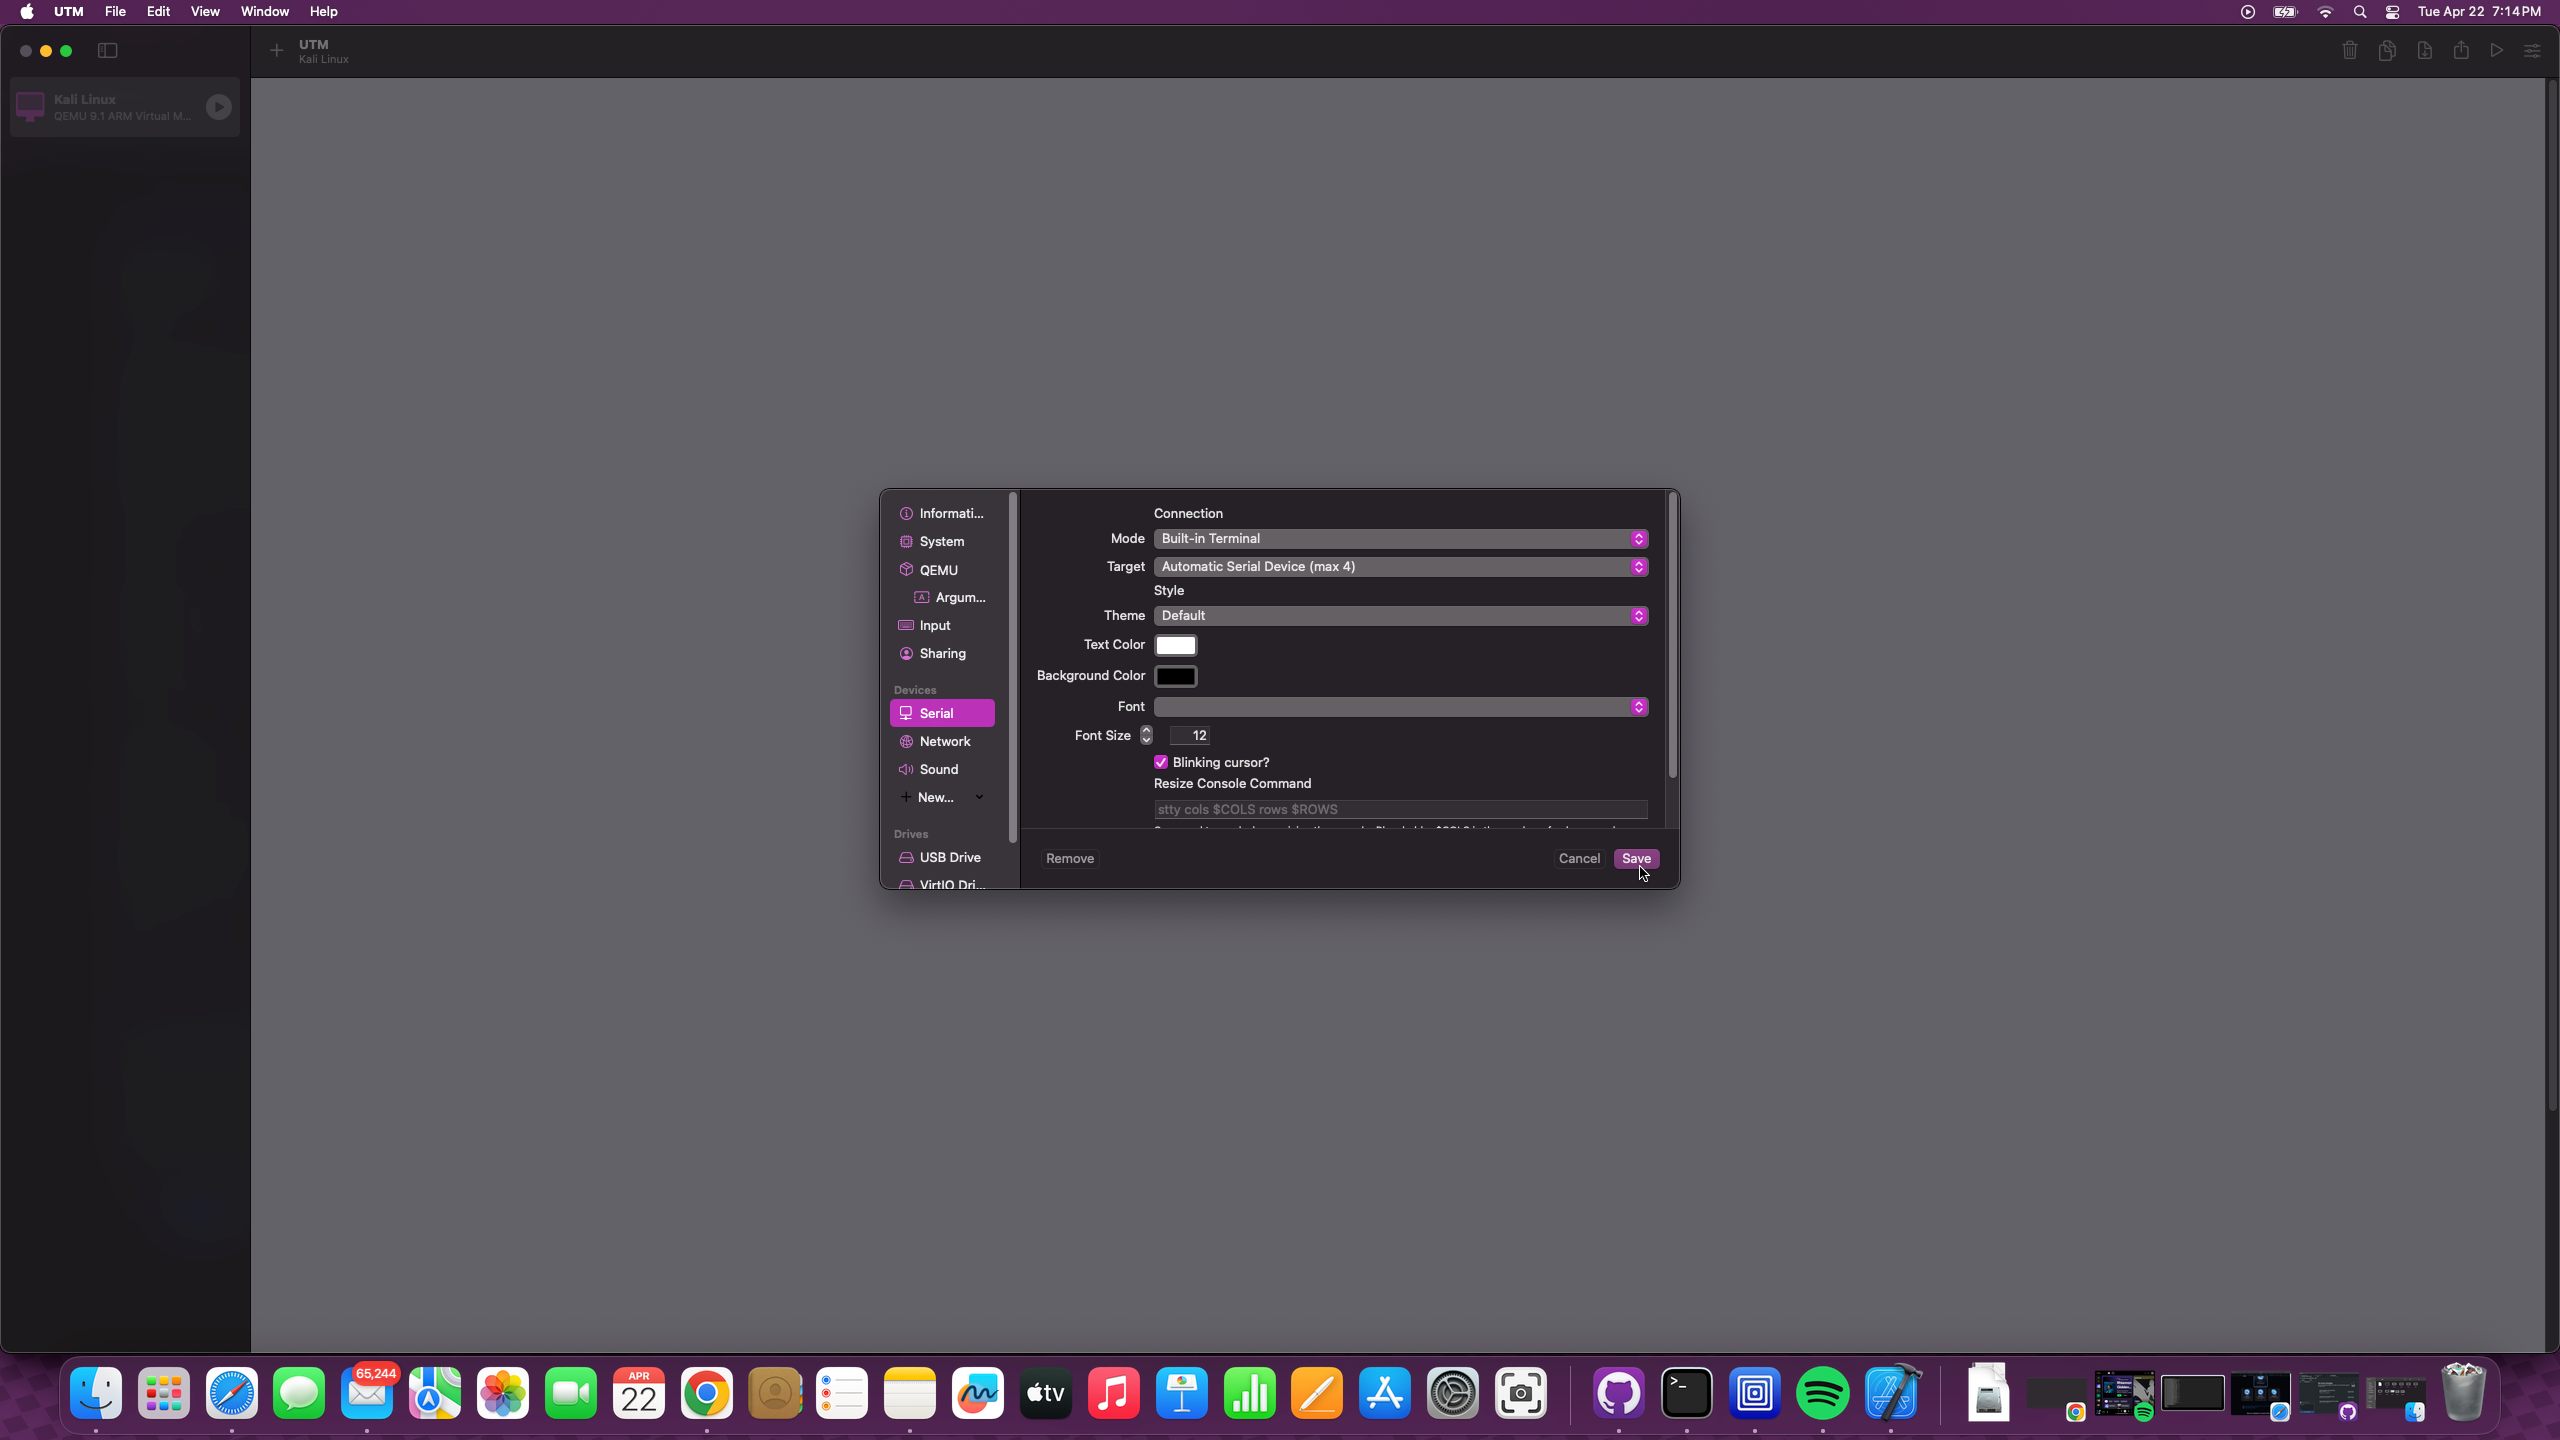
Step 4: Install Kali Linux
- 1Download Kali
- 2Create VM
- 3Configure Settings
- 4Install OS
- 5First Boot
- 6Optimization
- Start the VM by clicking the
Playbutton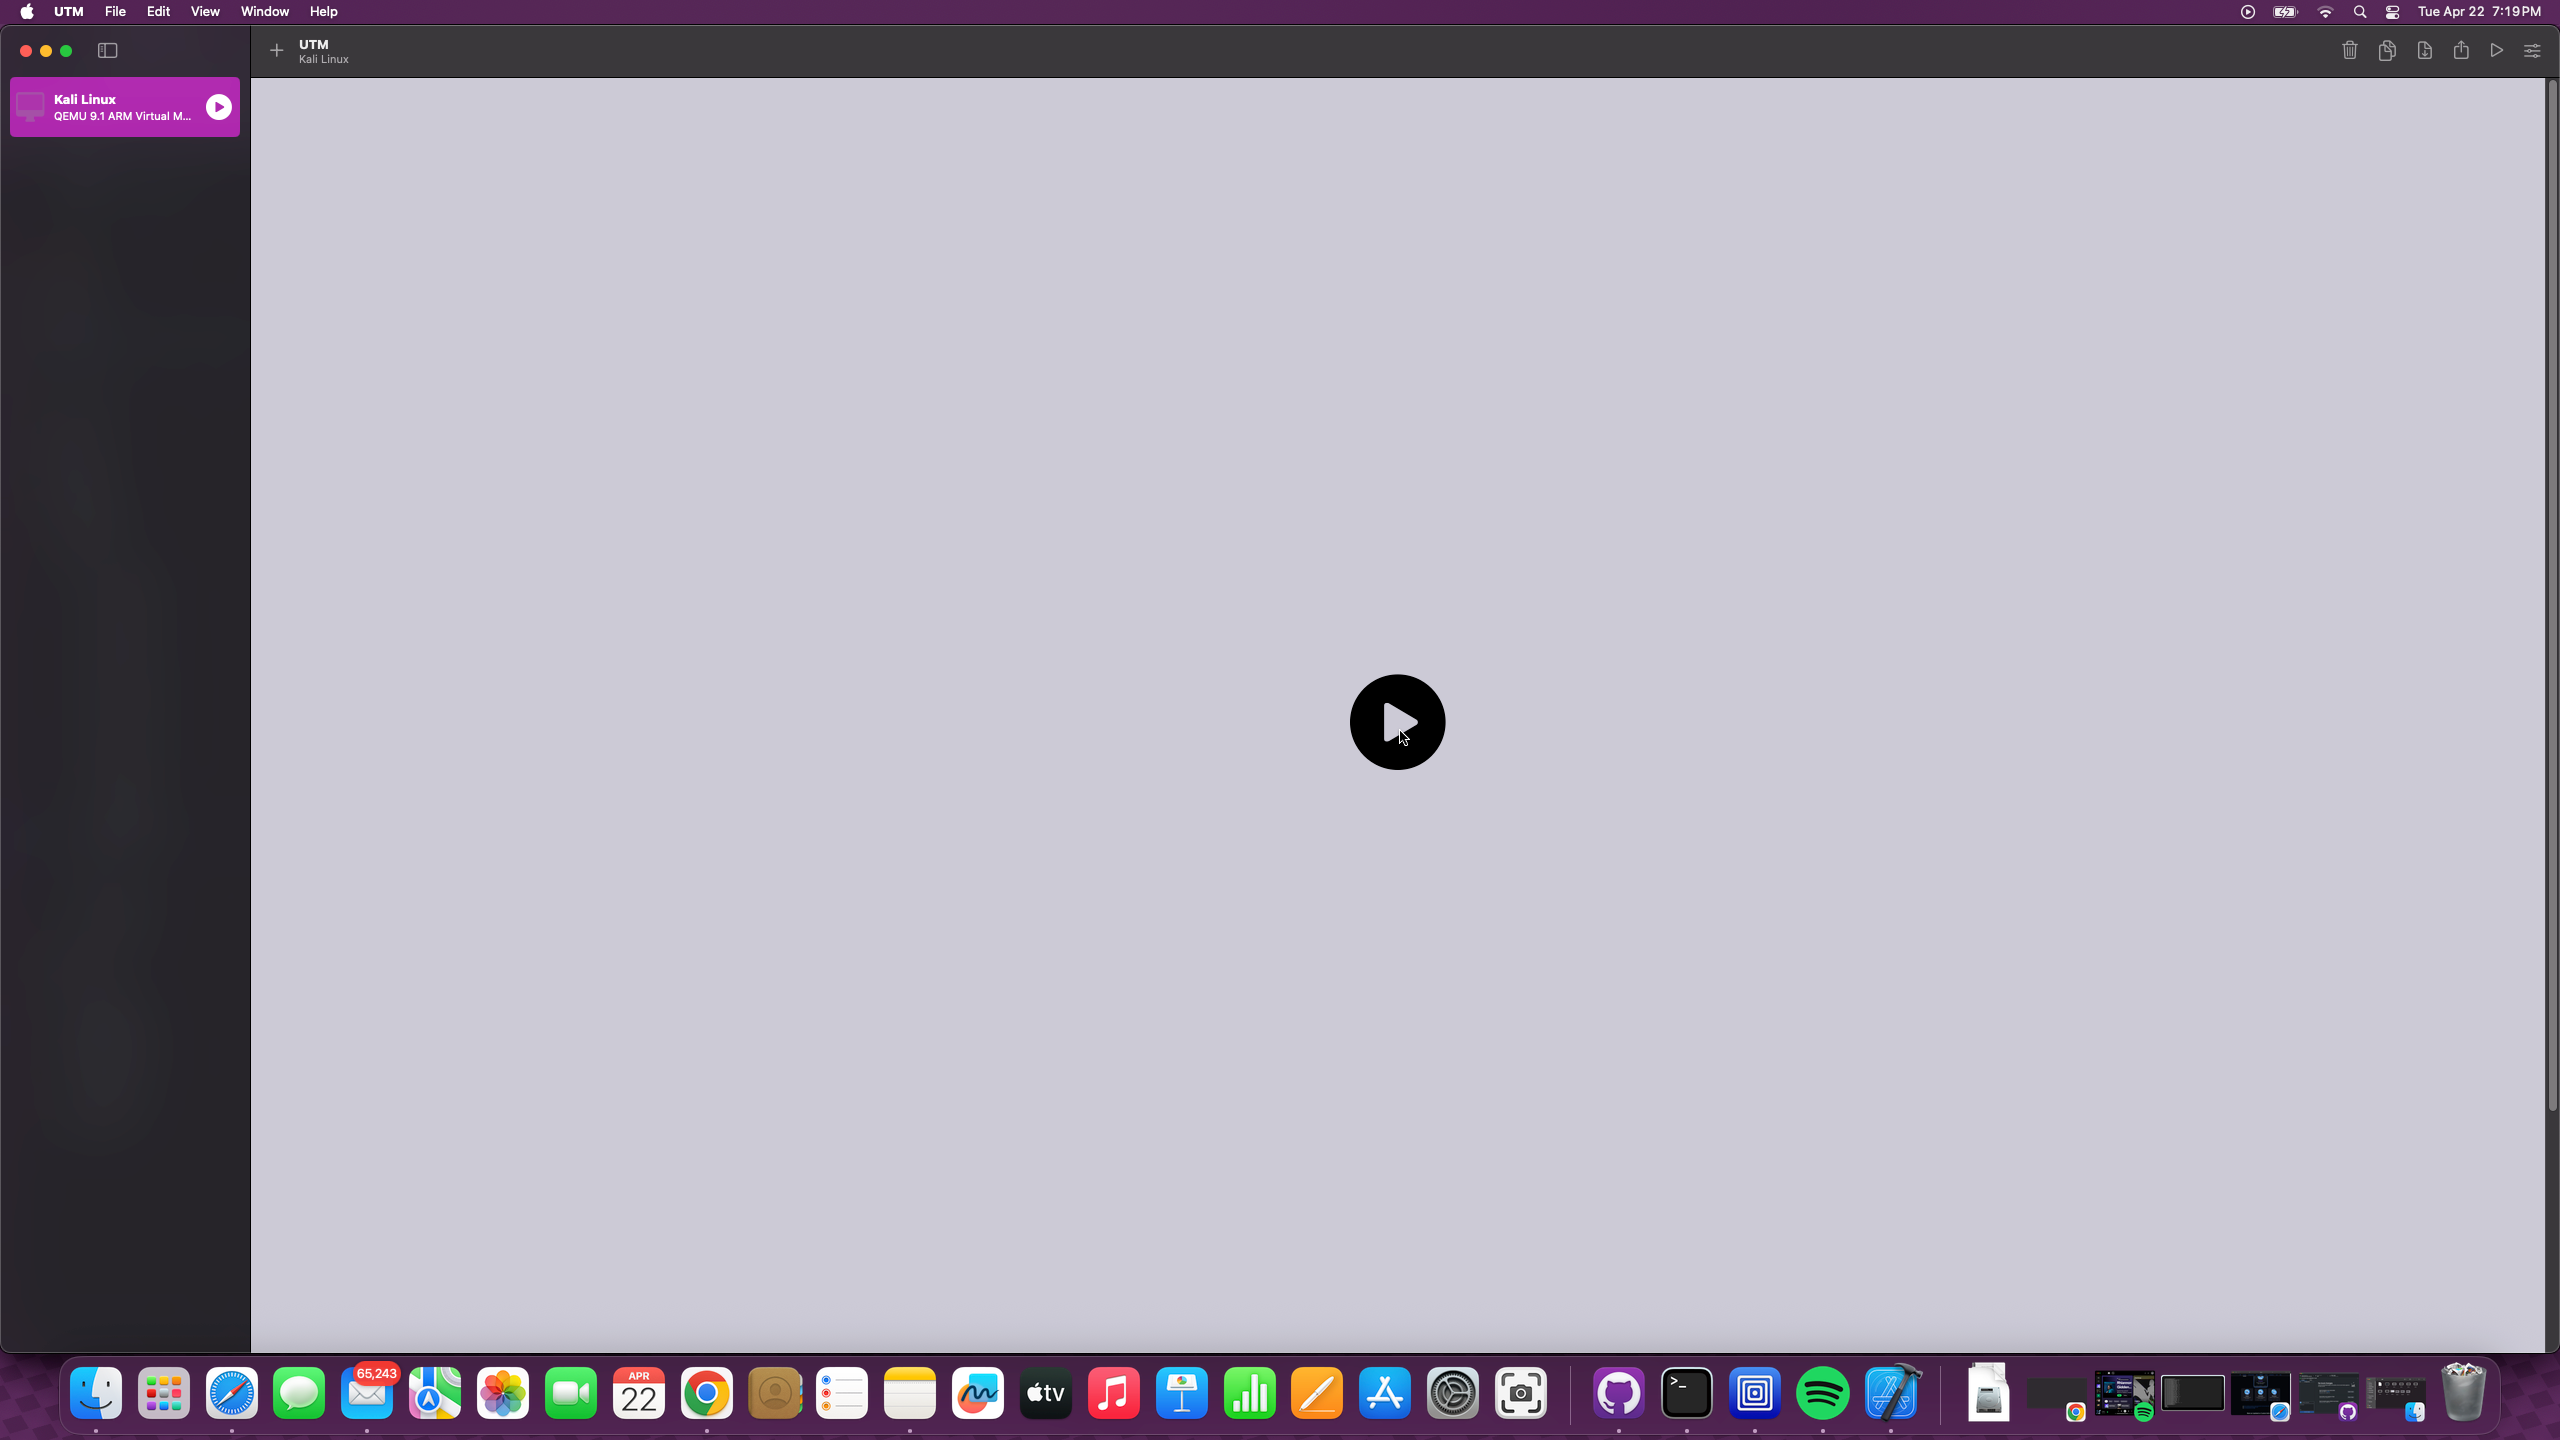
-
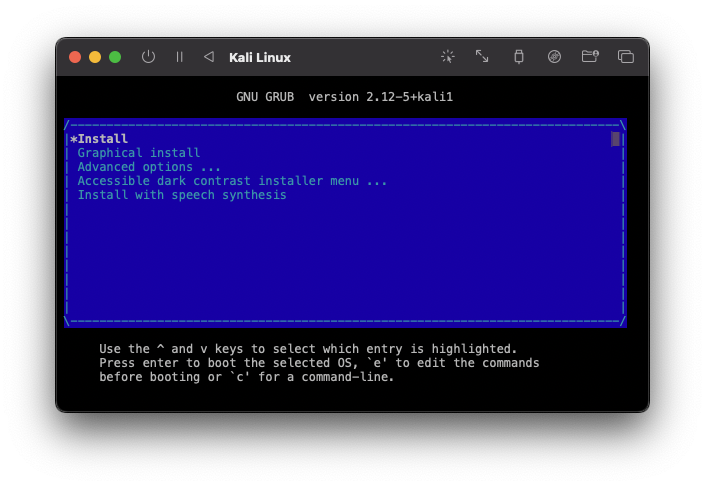
A console window should open showing the Kali Linux boot menu
- Use the arrow keys to select “Install” and press Enter
- Follow the installation prompts:
- Set your
language,location, andkeyboard layout - Configure
network(hostname, domain, etc.) - Create a
user accountandpassword - For partitioning, select
Guided - use entire disk
- Set your
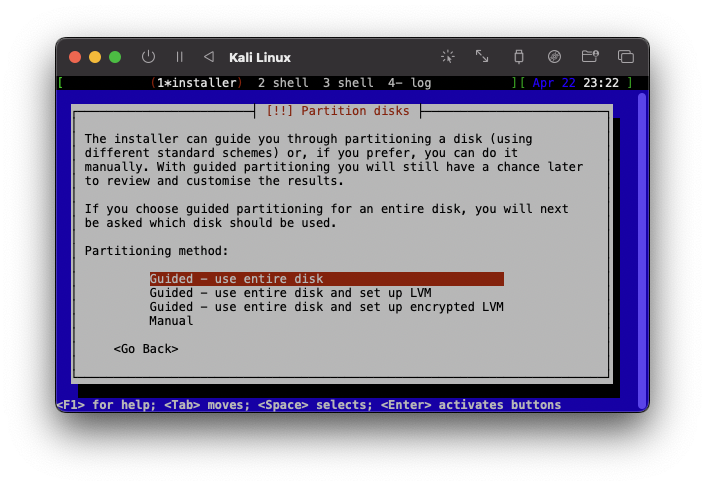
- Click the default settings for partitioning
- When asked about software selection, ensure you select the following items for the best VM performance: –
Xfce (default desktop environment, lightweight and fast)–Collection of tools: Top 10 AND default - The software installation process may take a few minutes, depending on your internet speed.
Important: When you reach the
Finish the installationstep, DO NOT selectContinueyet!
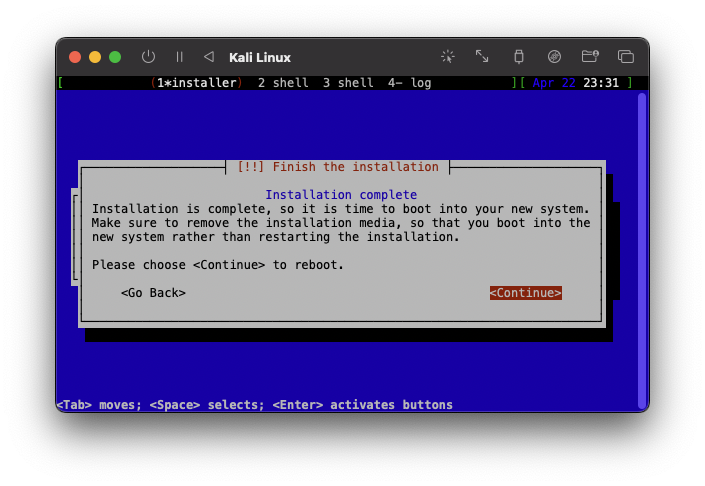
-
Return to UTM’s main window
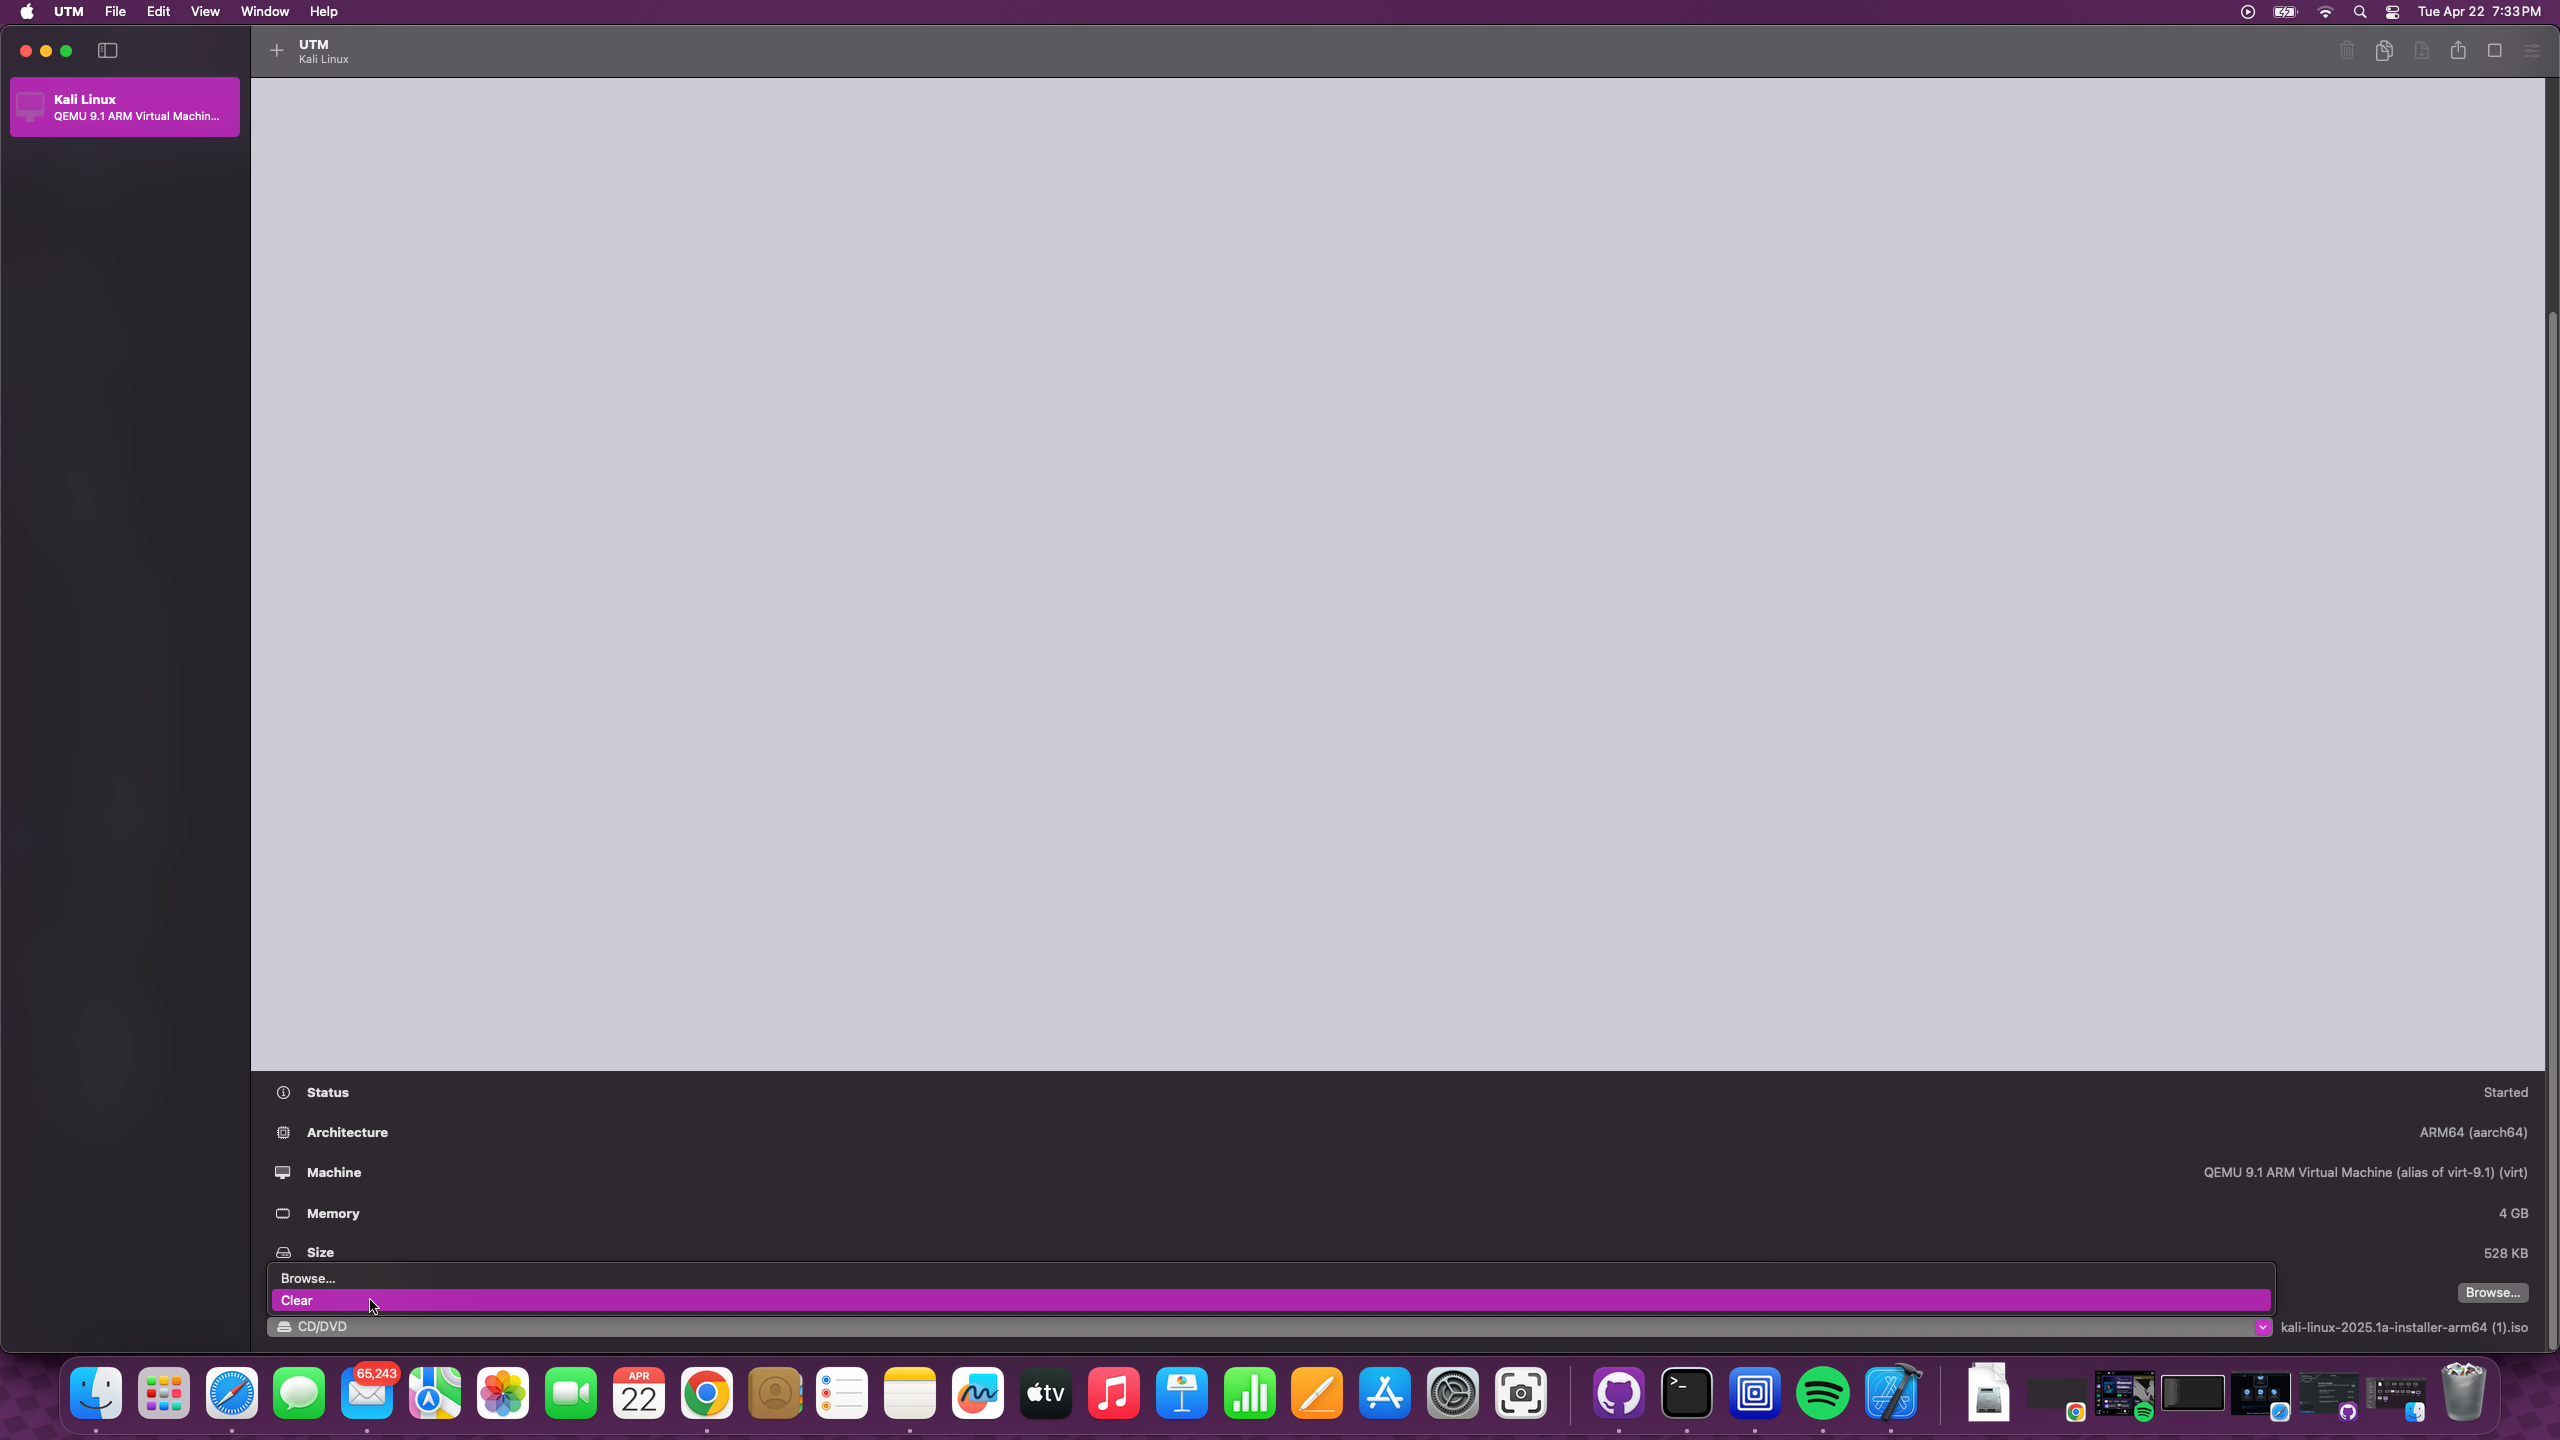
-
Select your VM on the left, then scroll down to
CD/DVDon the right side -
Click
Clearto remove the installation ISO (essential to boot from the installed system)
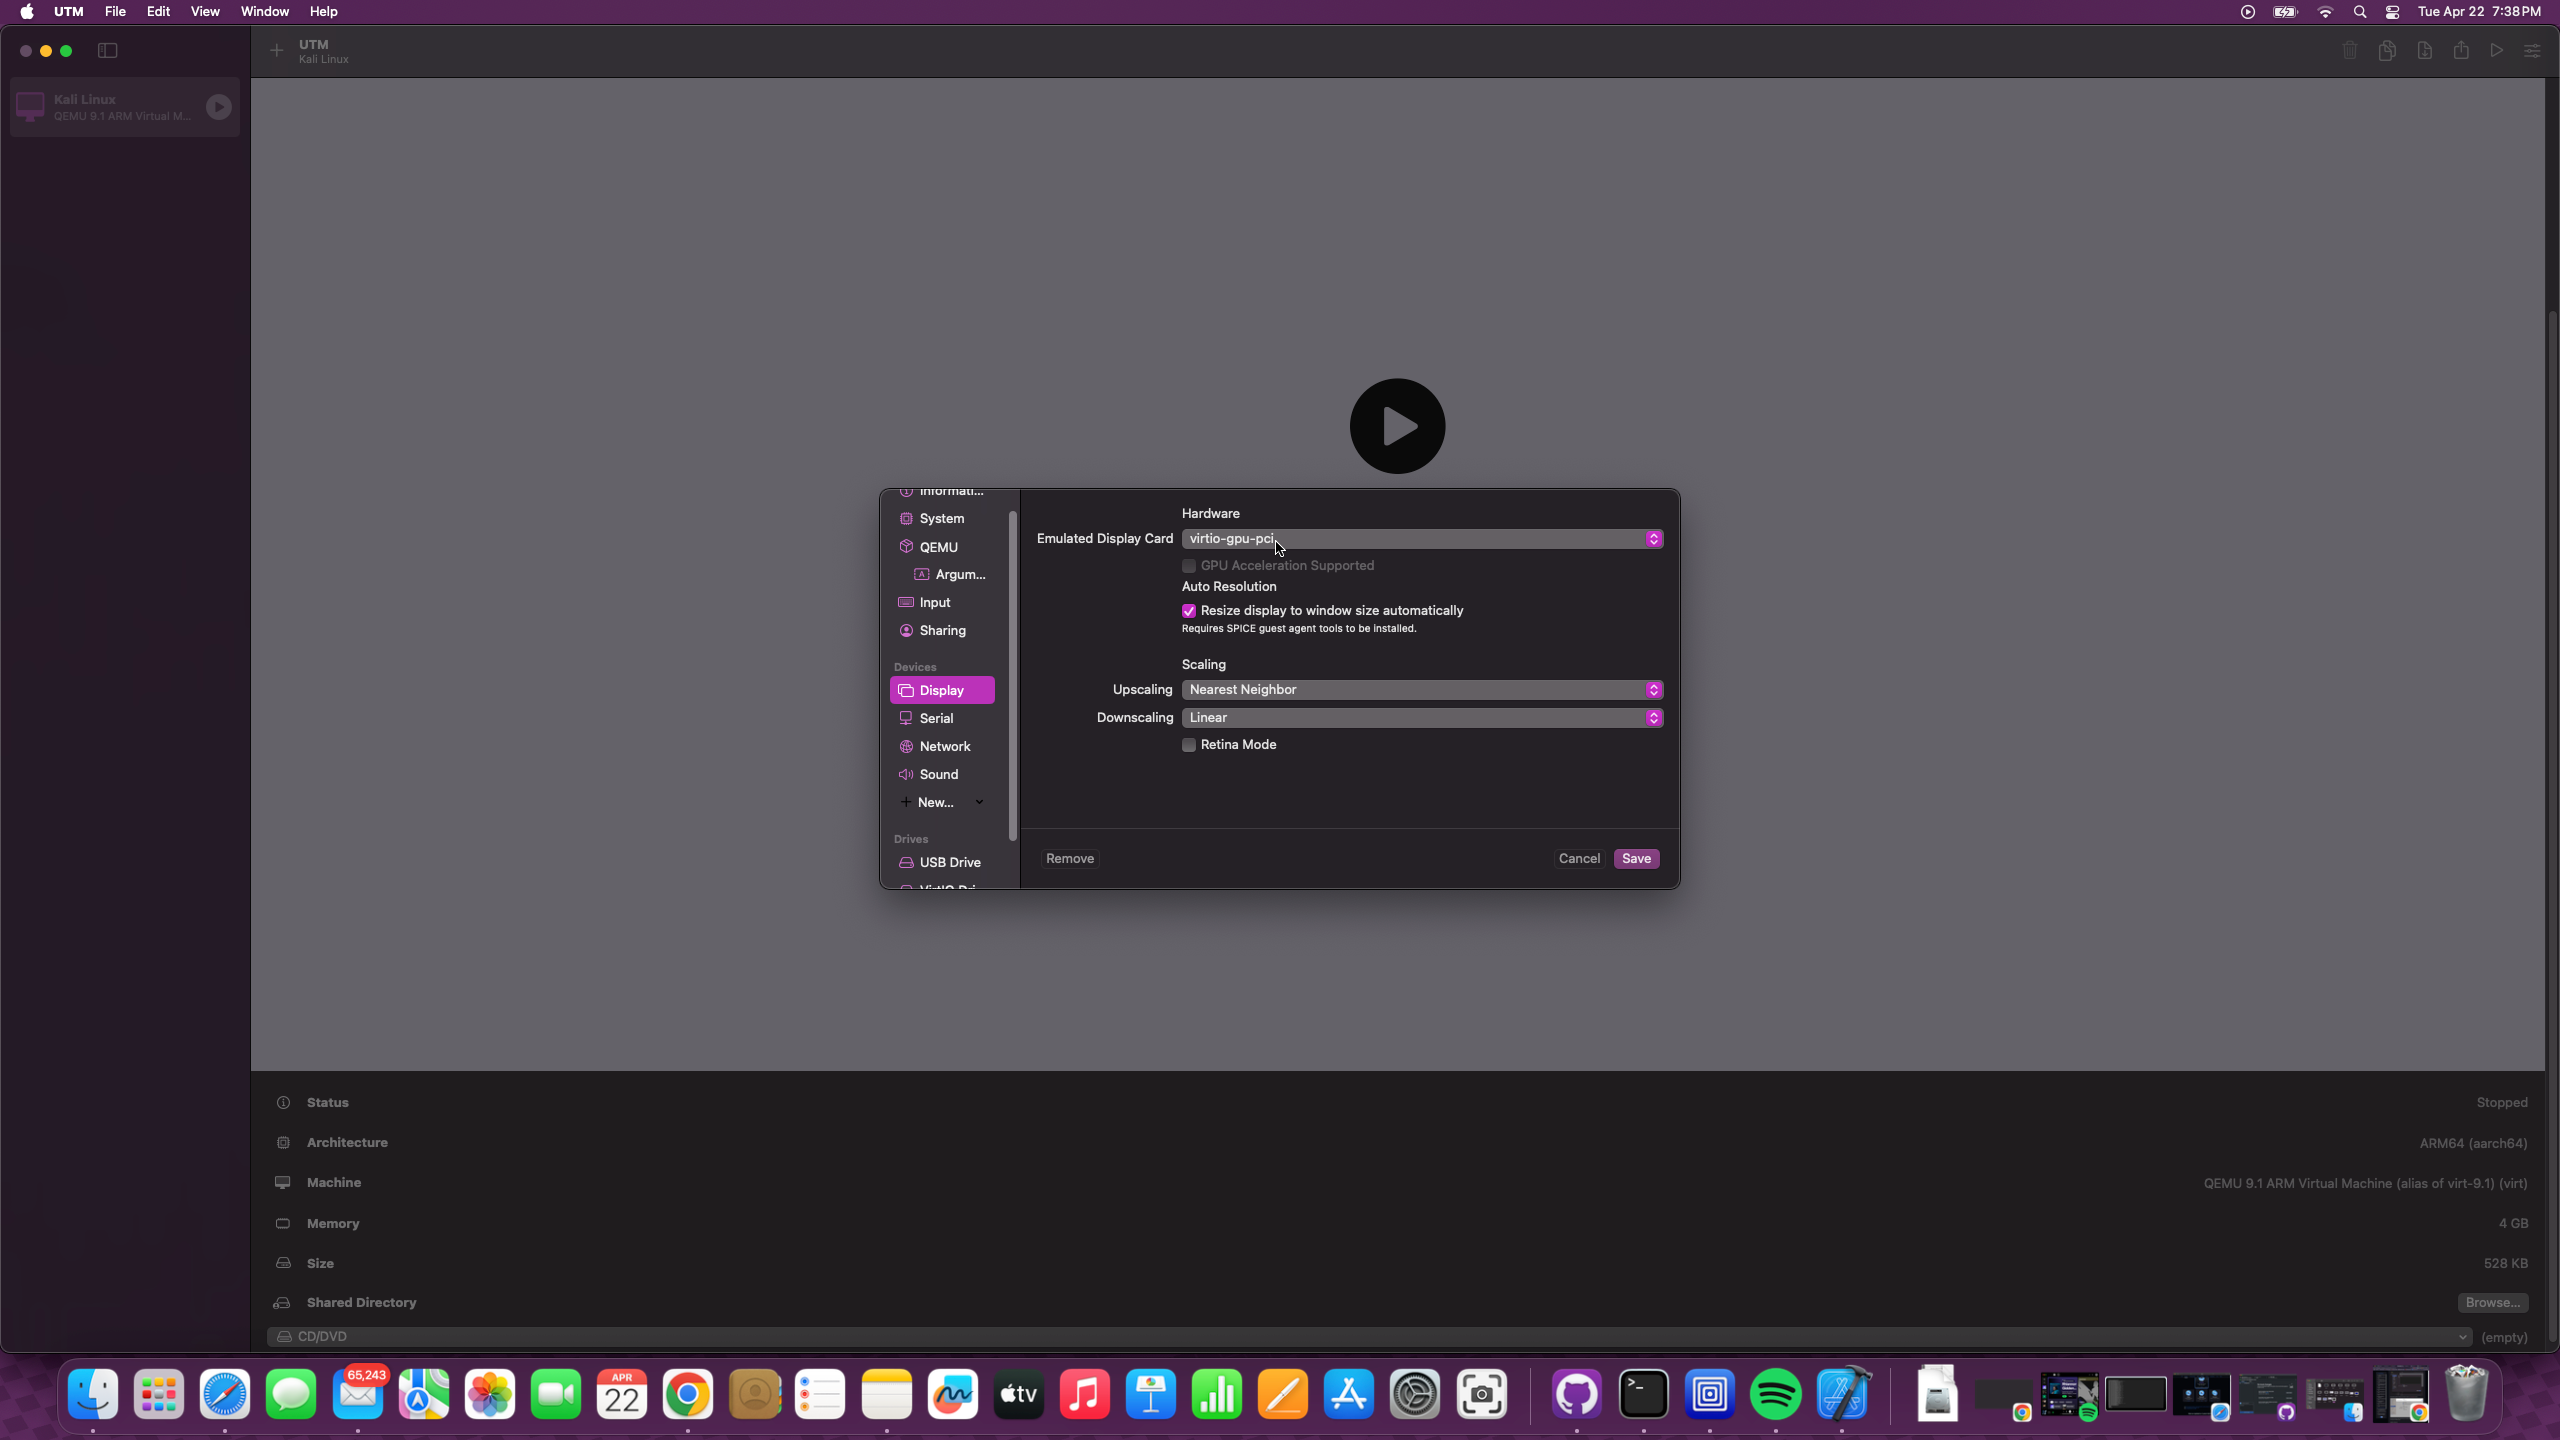
Prior to selecting continue, open up the settings window we used to install the serial device, and do the following tasks:
- Remove the
Serialdevice - Add a new
Displaydevice, using thevirtio-gpu-pcioption - Save the settings
- Now go back to the installation window and select
Continueto complete the installation
Step 5: First Boot and Optimization
- 1Download Kali
- 2Create VM
- 3Configure Settings
- 4Install OS
- 5First Boot
- 6Optimization
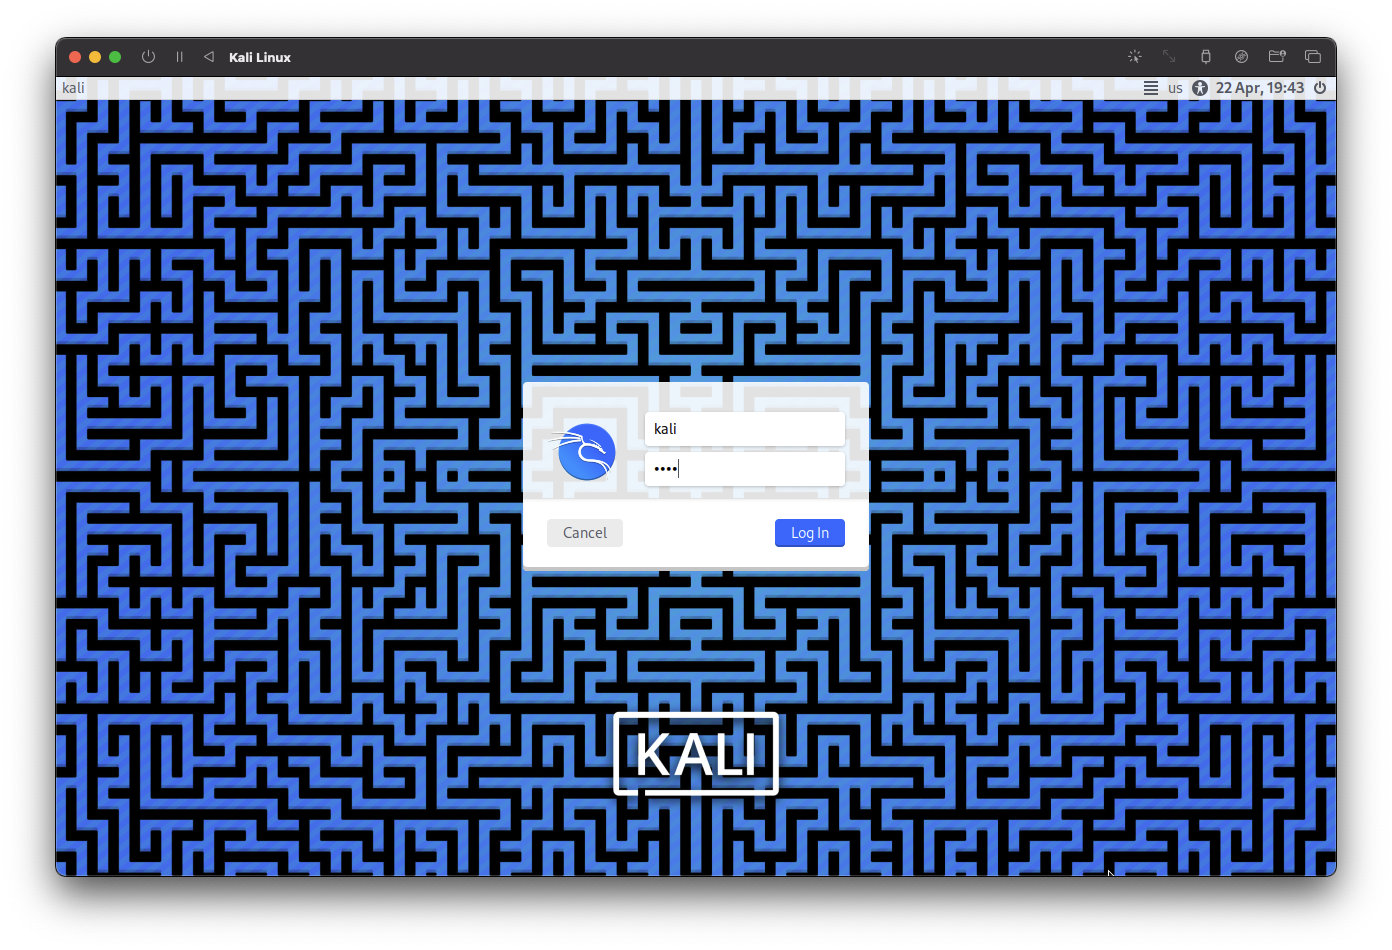
- Start the VM and log in with your username and password
- For better integration with your Mac, install SPICE tools from the terminal:
sudo apt update
sudo apt install spice-vdagent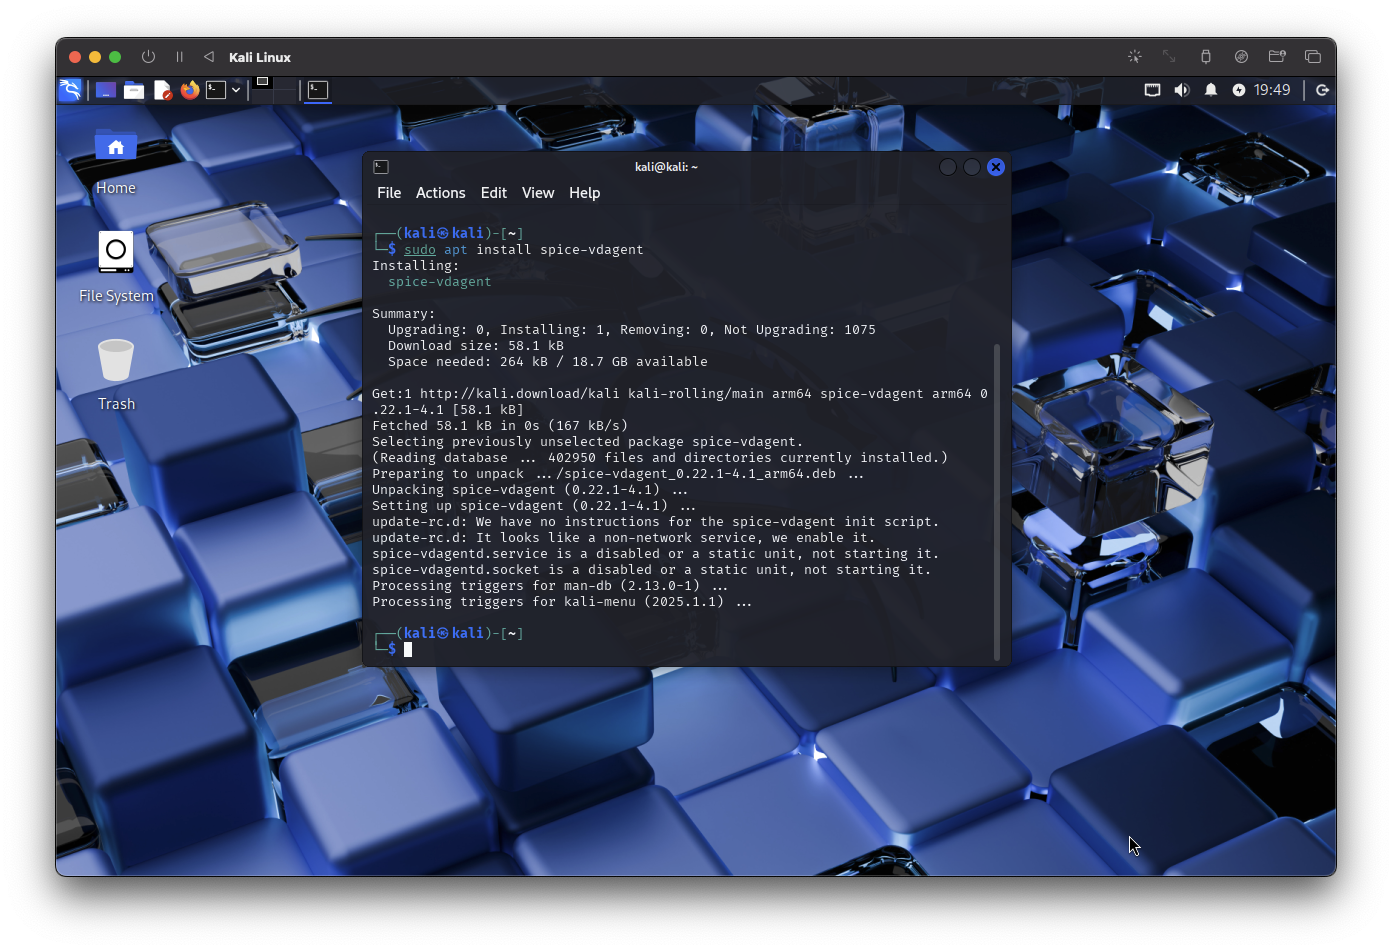
Step 6: Update and Upgrade
- 1Download Kali
- 2Create VM
- 3Configure Settings
- 4Install OS
- 5First Boot
- 6Optimization
Run the following command to ensure all packages on the Kali Linux system are up to date:
sudo apt update && sudo apt upgrade -y
Step 7: Enjoy Your Kali Linux Virtual Machine!
Your Kali Linux installation is now complete and optimized for Apple Silicon. You can proceed to install additional tools or configure the environment to your needs.
Remember that Kali Linux contains powerful security tools. Always use them ethically and legally.